Making A Photography Zine

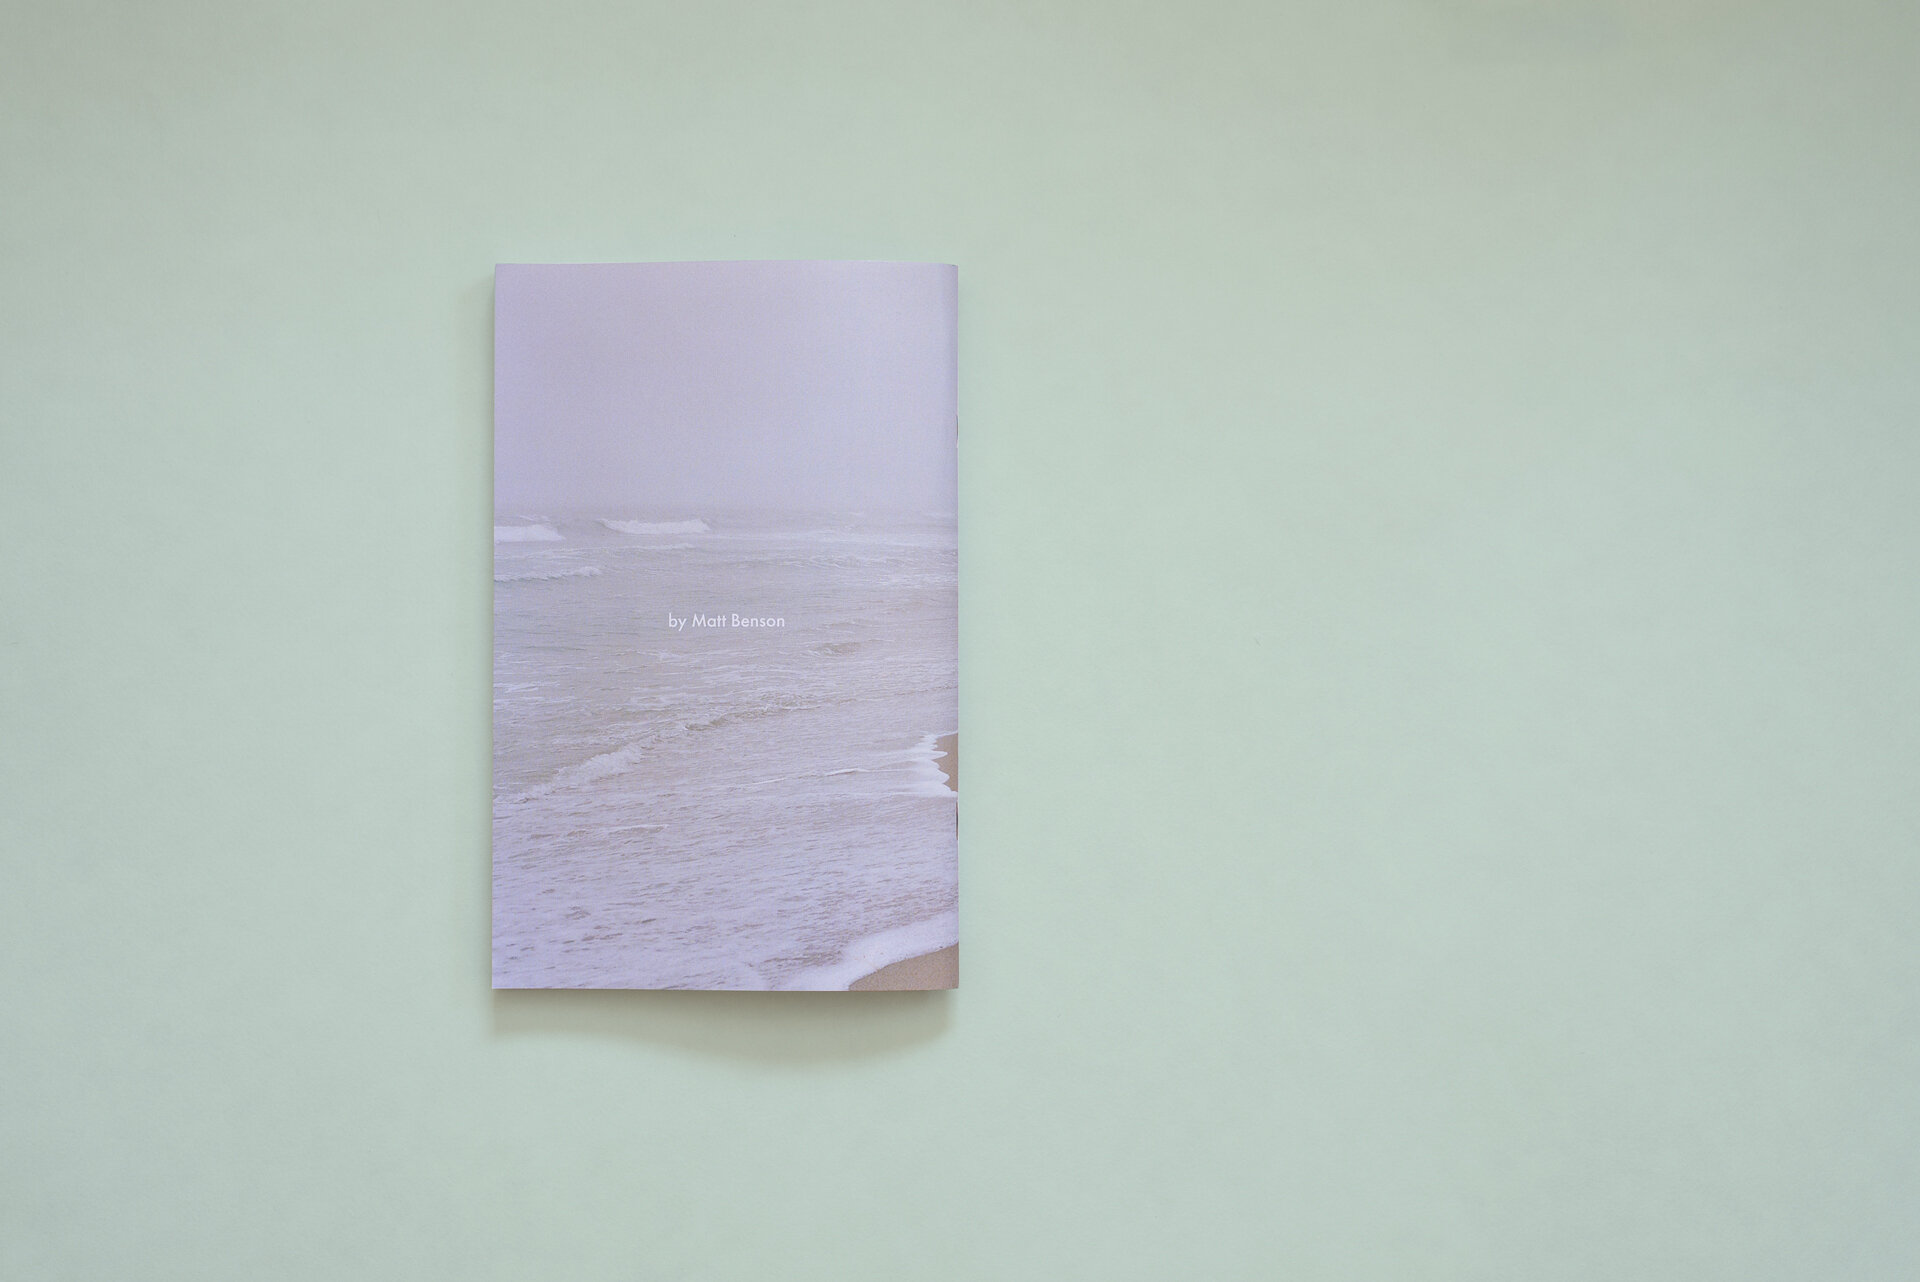
A zine I made of our trip to California
Introduction
I’ve grown increasingly discouraged at the pile of memories collecting dust on my hard drive. In the past few years I’ve traveled the country, lived in a van with my wife and dog, bought a house, had a baby, and all the countless adventures in between. Yet, with the exception of the occasional blog or Instagram post, the majority of those memories are nowhere to be seen.
In light of this, and spurred on by a sense of urgency that apparently comes with the territory of being a new dad, I’m setting a goal to print more work. Whether in the form of individual pictures to hang on the wall or zines of personal adventures to put on our book shelf, I want to start giving my images a longer shelf life than merely sticking them on a blog or Instagram post.
This blog post covers a zine I made from a trip Jenny and I took to California last July. I hope it will be the first of many small booklets documenting my family adventures and that having them around the house will inspire us to keep adventuring. And I hope reading this will inspire you to go out and print your own work!
Side note: I’m not sure if a small production of 3-5 booklets that I don’t intend to sell can technically be considered a zine. But for the sake of this post, I’m running with it.

Shooting
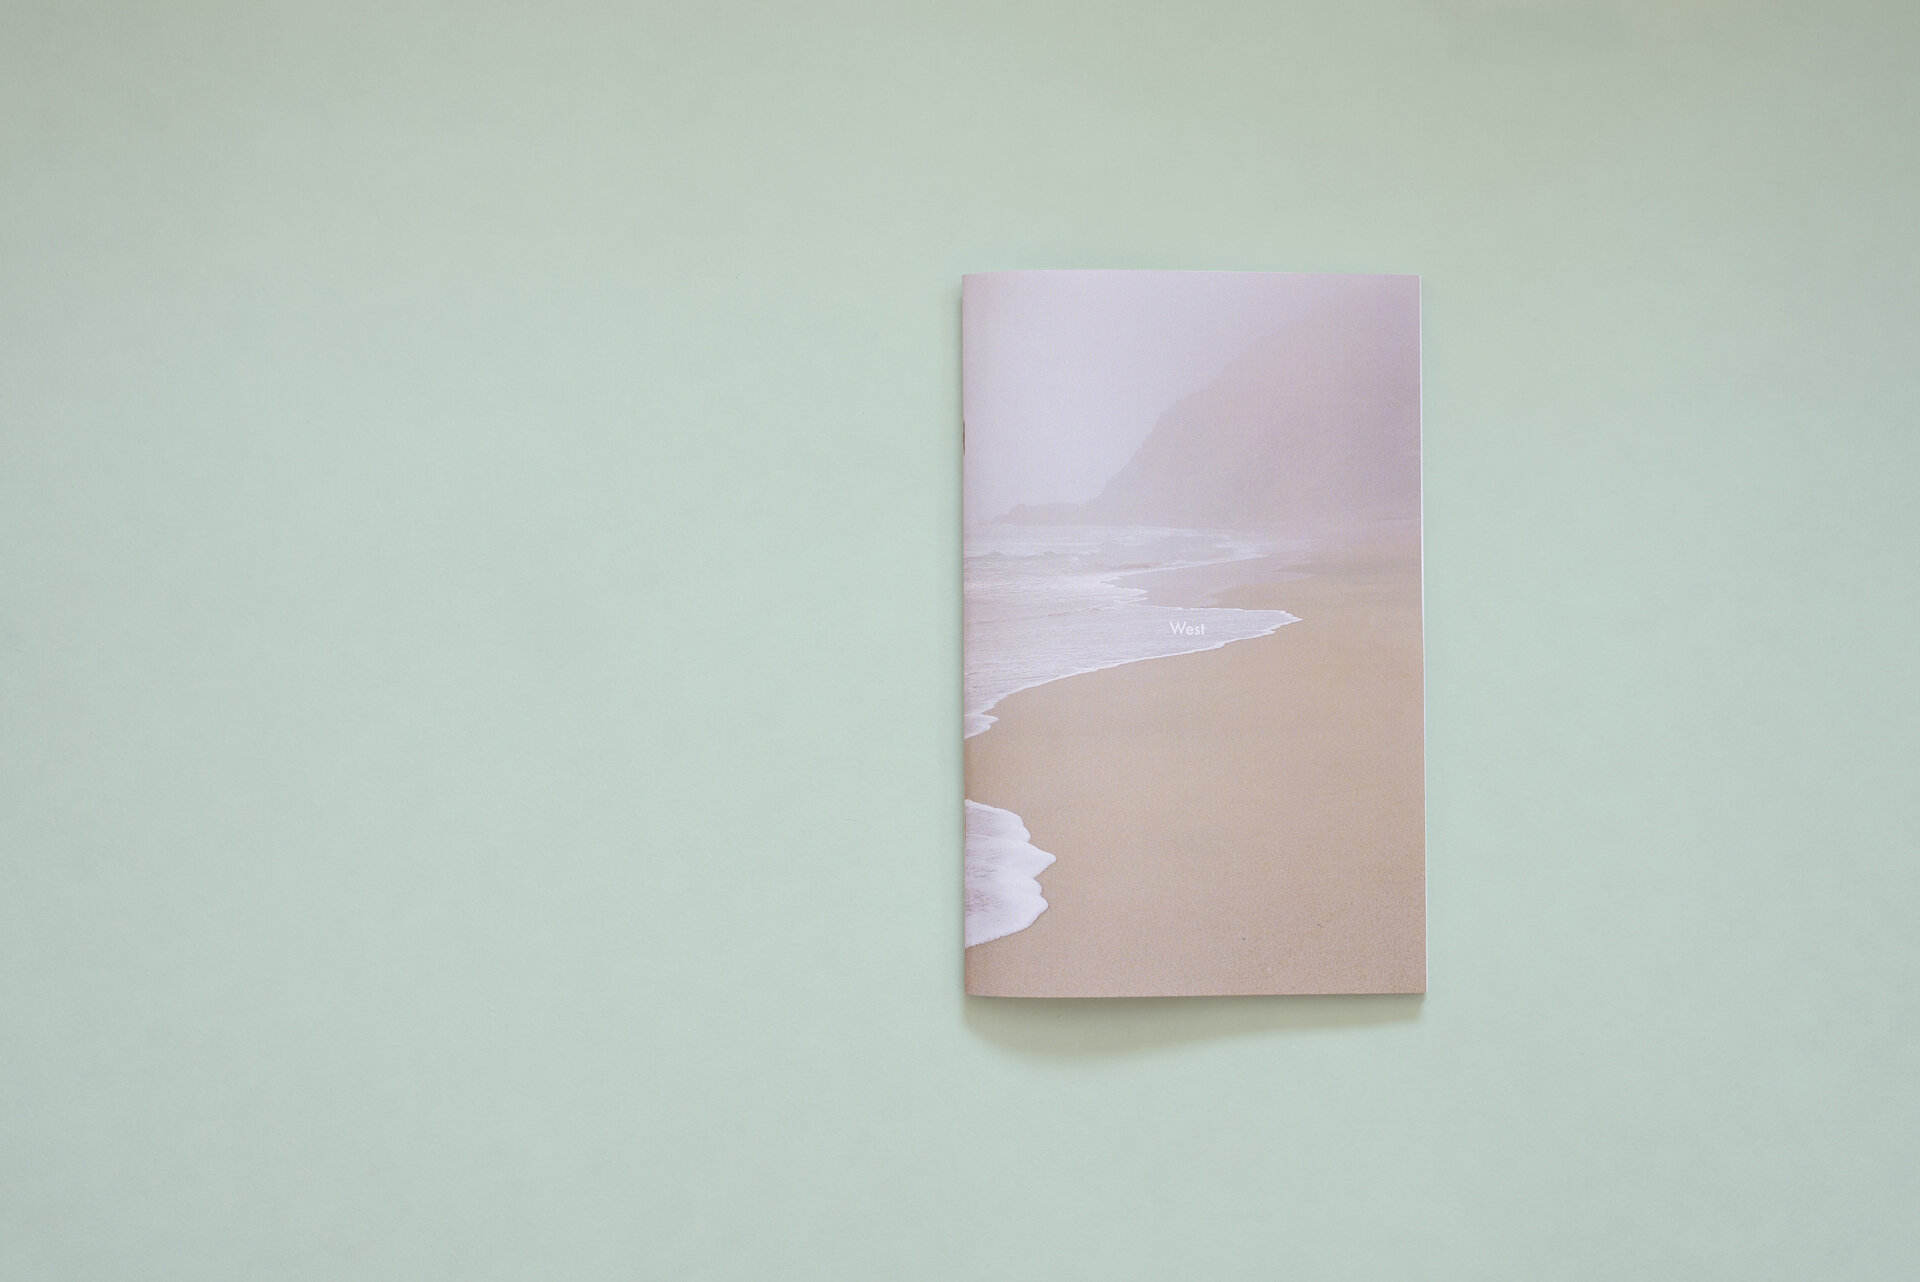
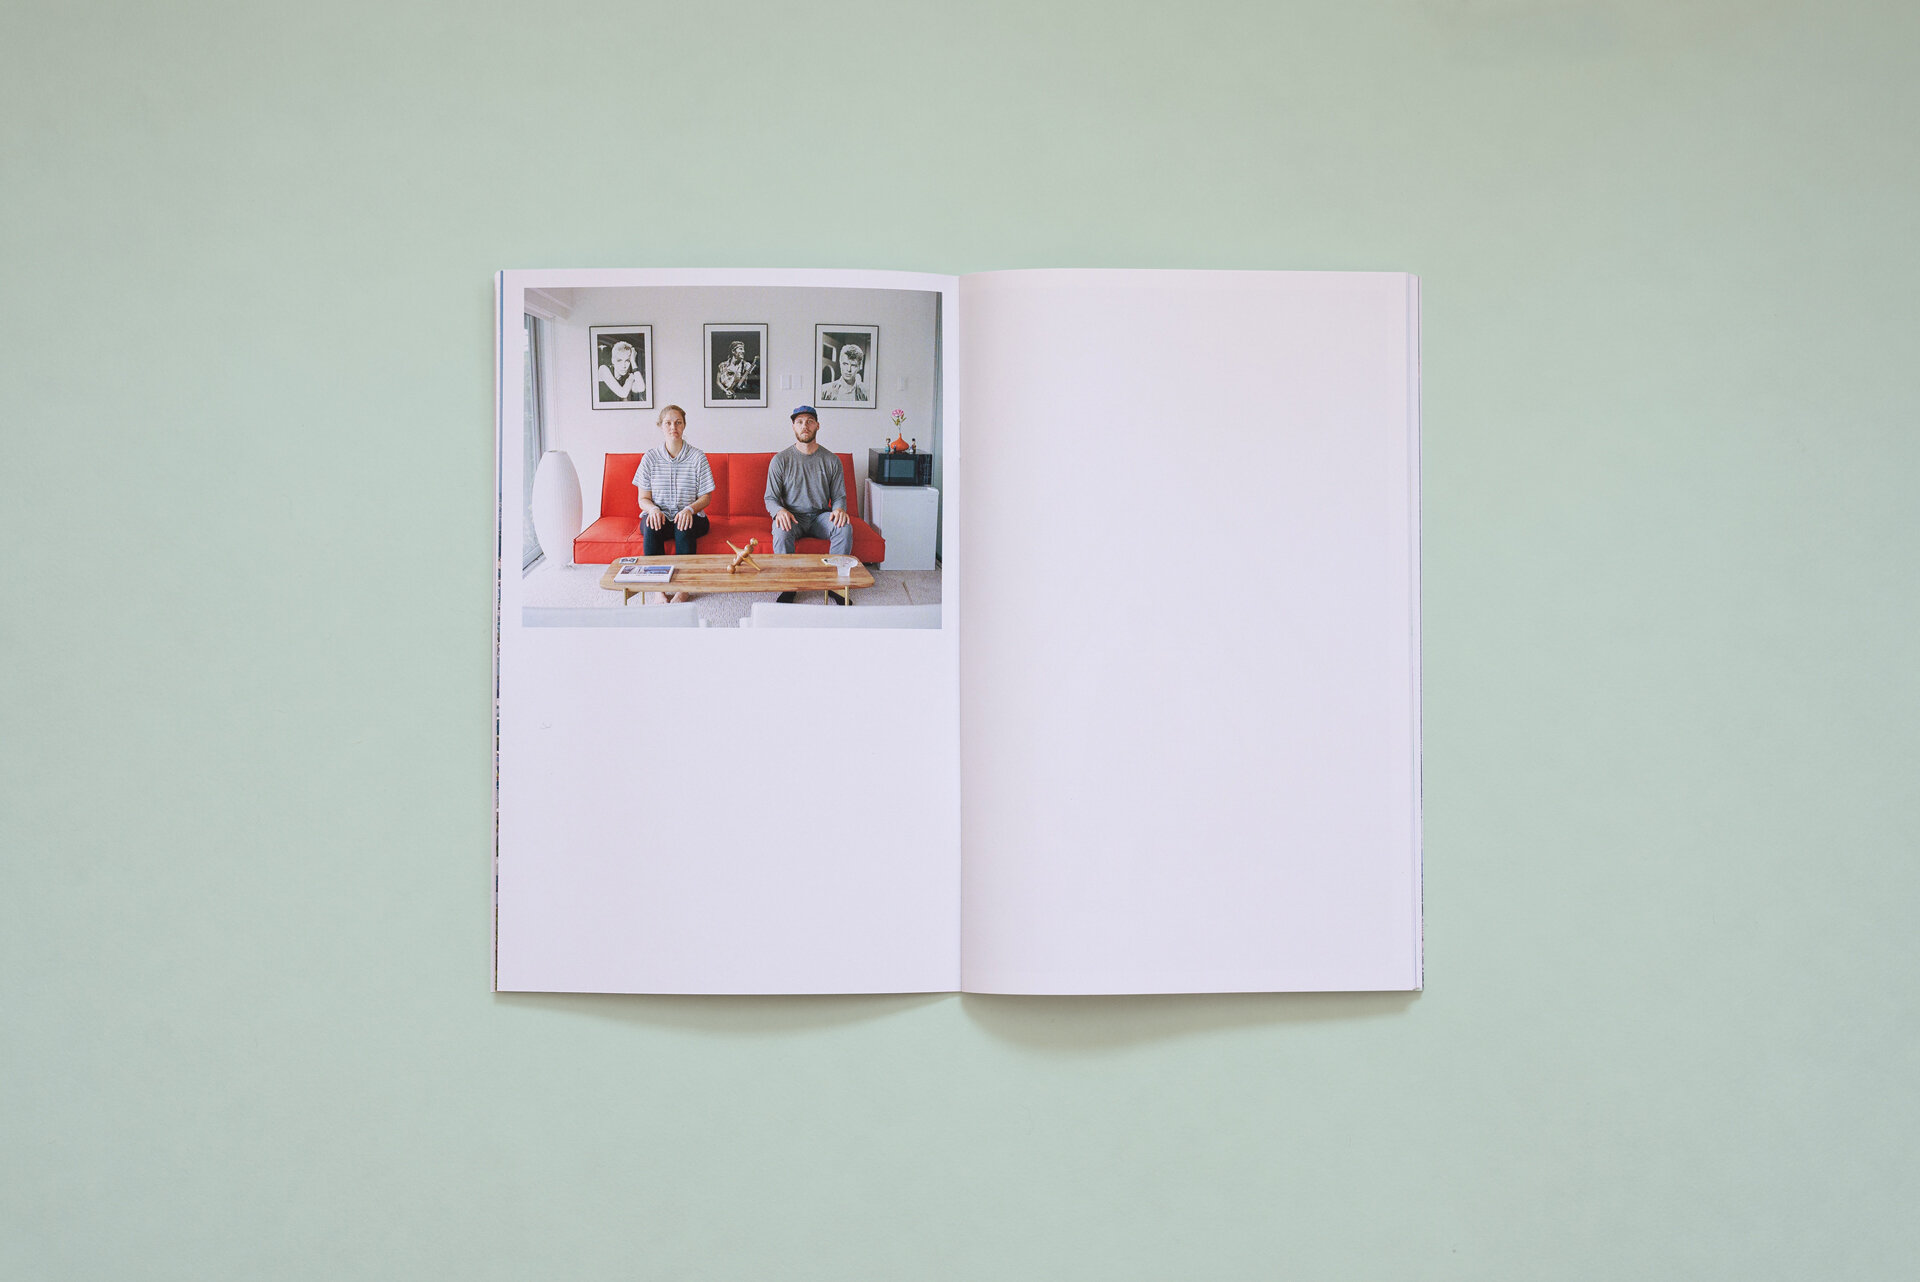
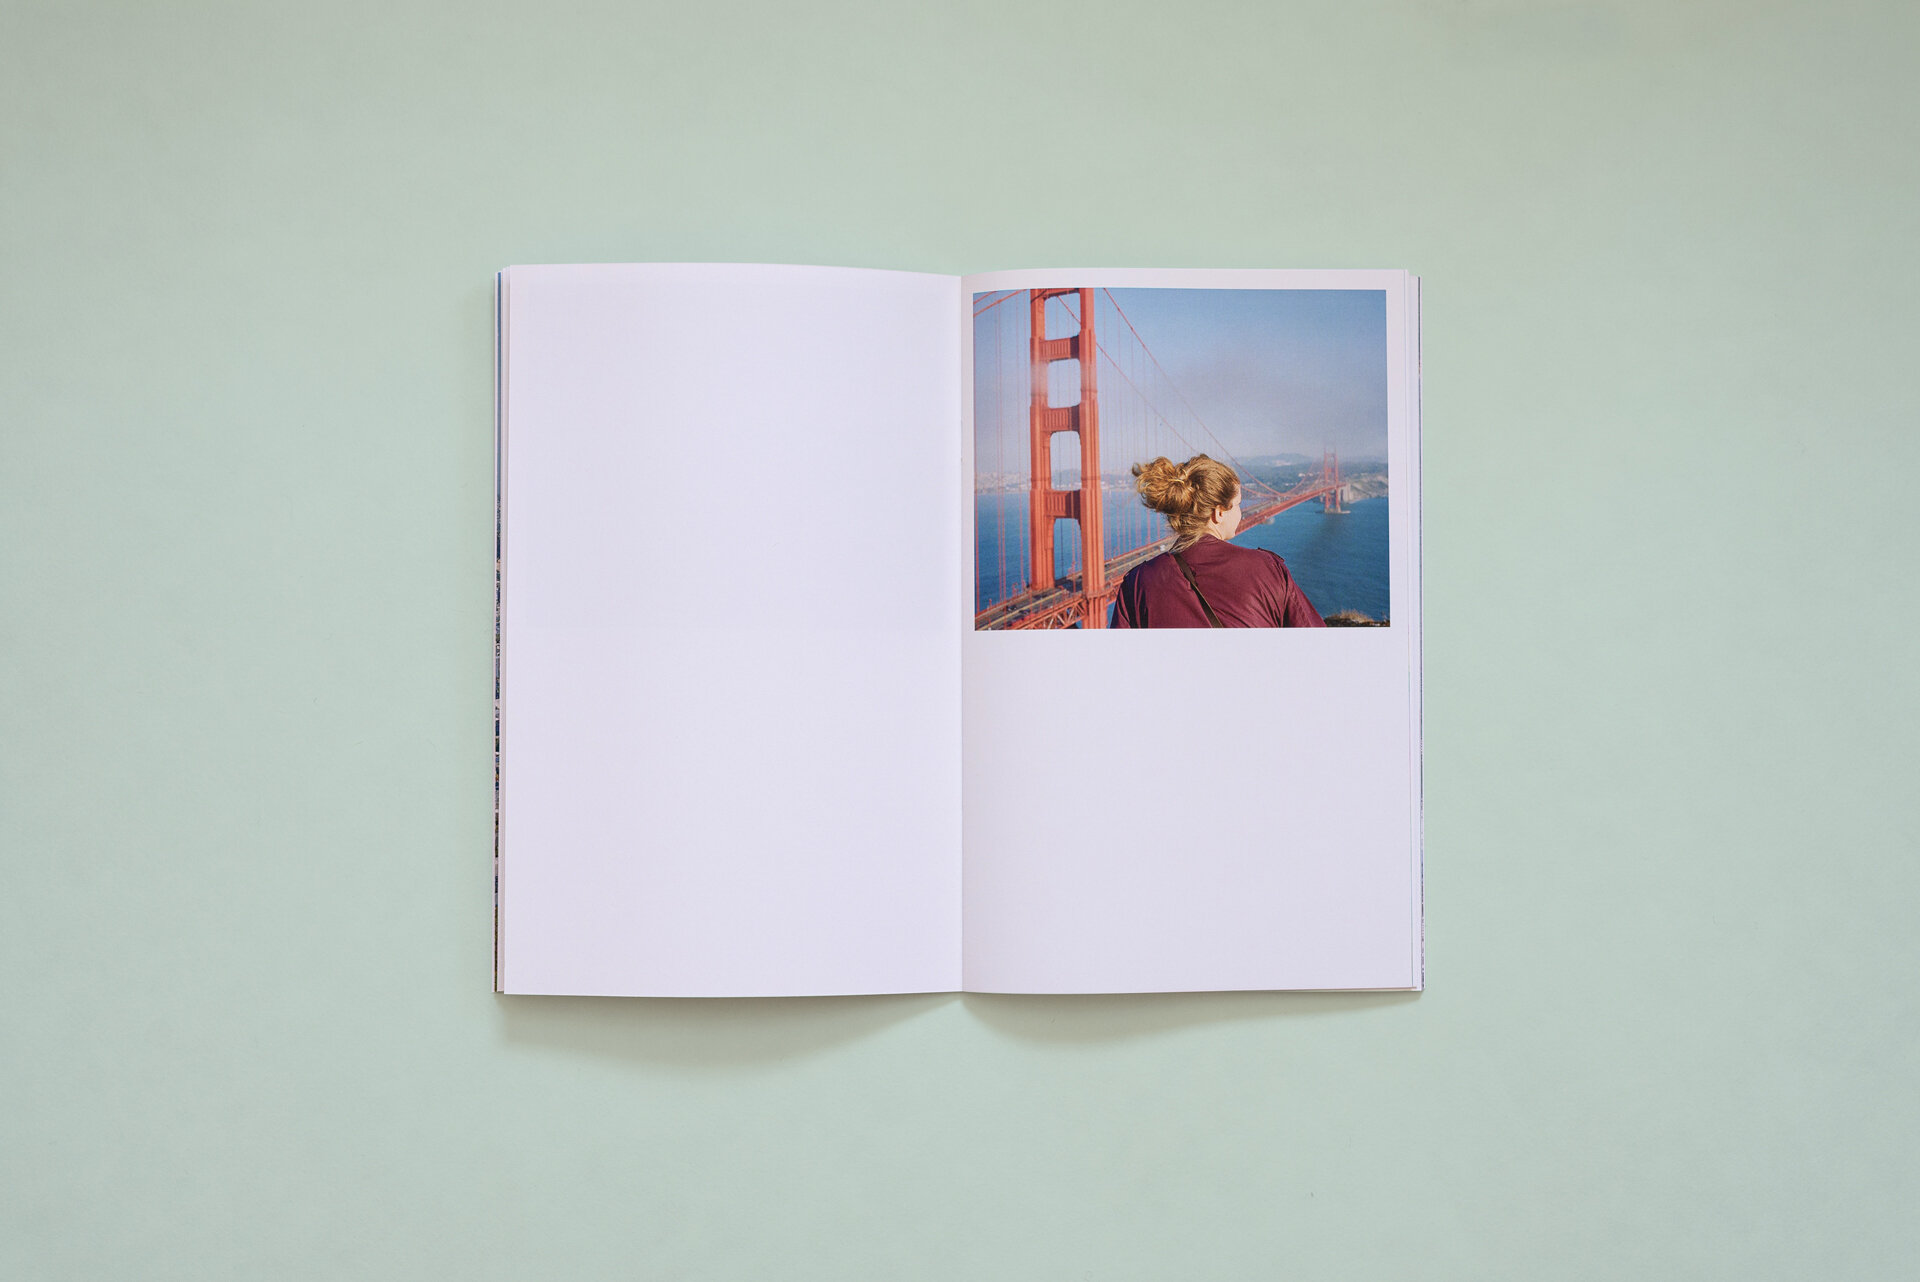
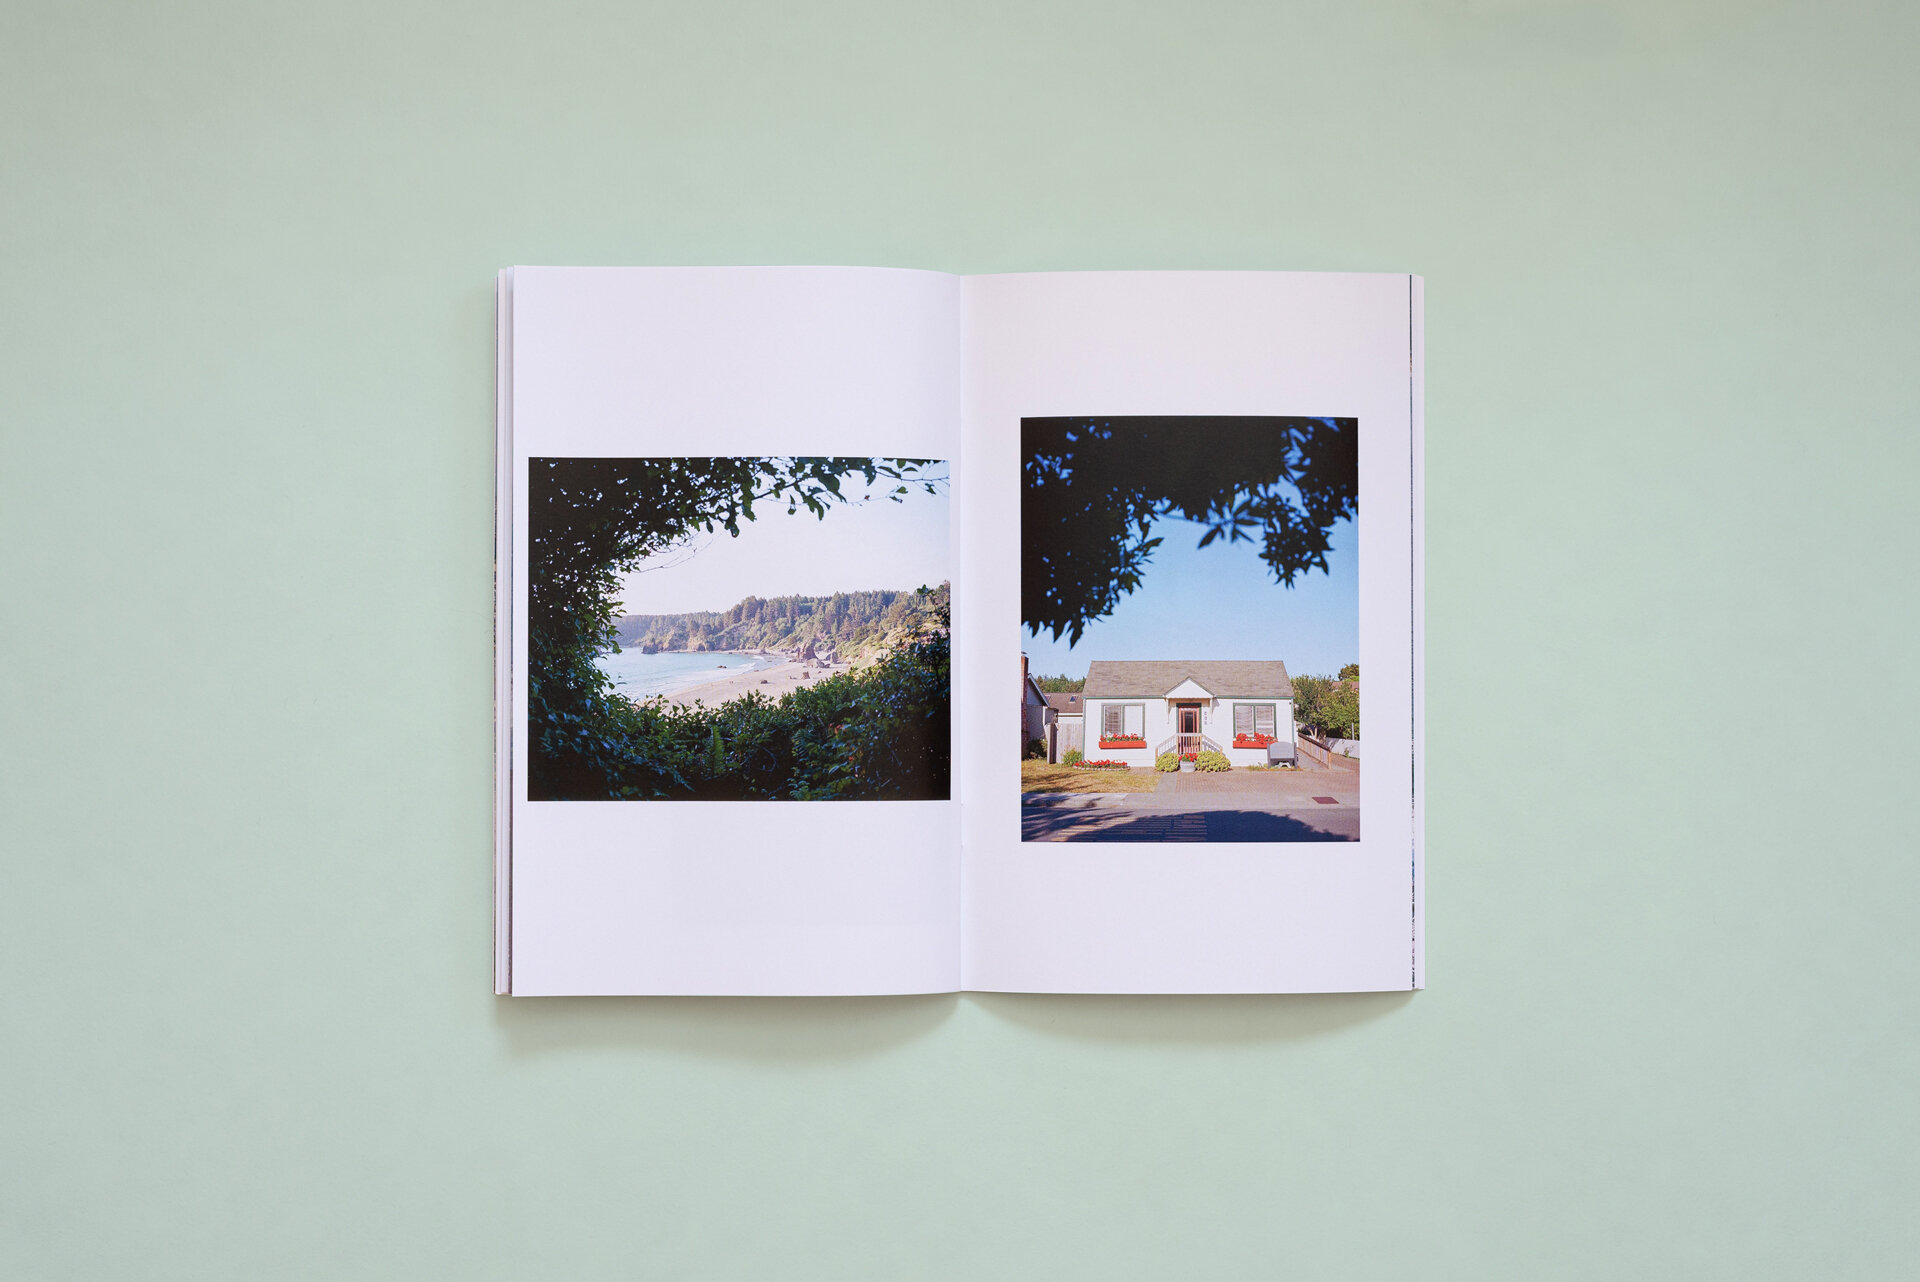
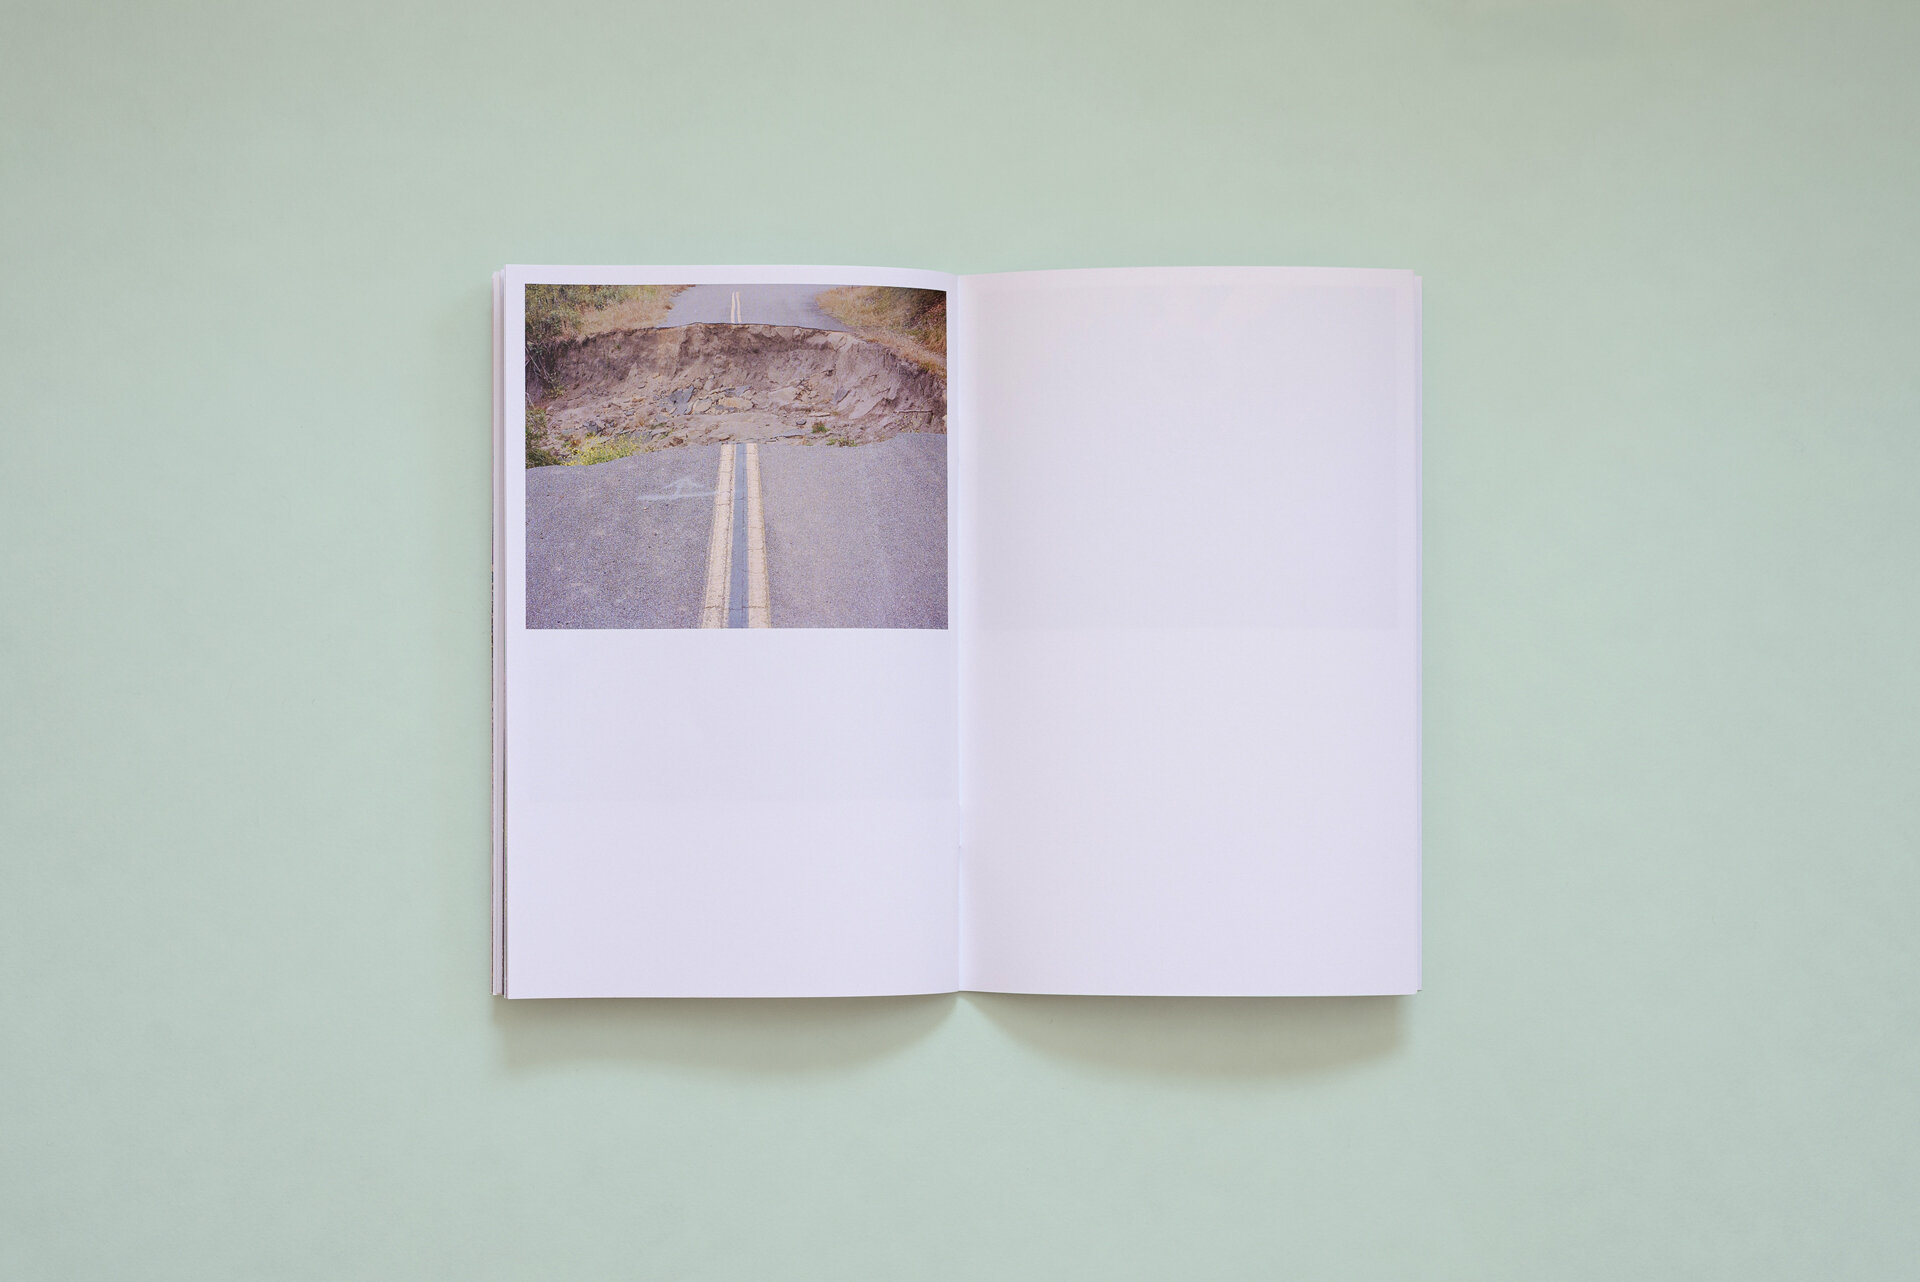
The obvious first step to creating a zine is to choose a subject and then gather or shoot a collection of images that support it. I knew even before our trip to California that I wanted the end result to be a zine. So I intentionally documented the journey on my Mamiya 7ii and 15 rolls of film to provide a consistent look throughout.
The biggest thing to consider when shooting for your zine is the final story you aim to tell. Sometimes the story is determined beforehand, where you have somewhat of a rough script and go out seeking images to fill it. Other times the story is determined after the fact, where you gather the images you’ve taken and then start piecing them together to form a narrative. Many times it’s an ongoing back-and-forth process where the images you take change and shape your story along the way and you have to go out shooting again in order to fill any gaps in your story.
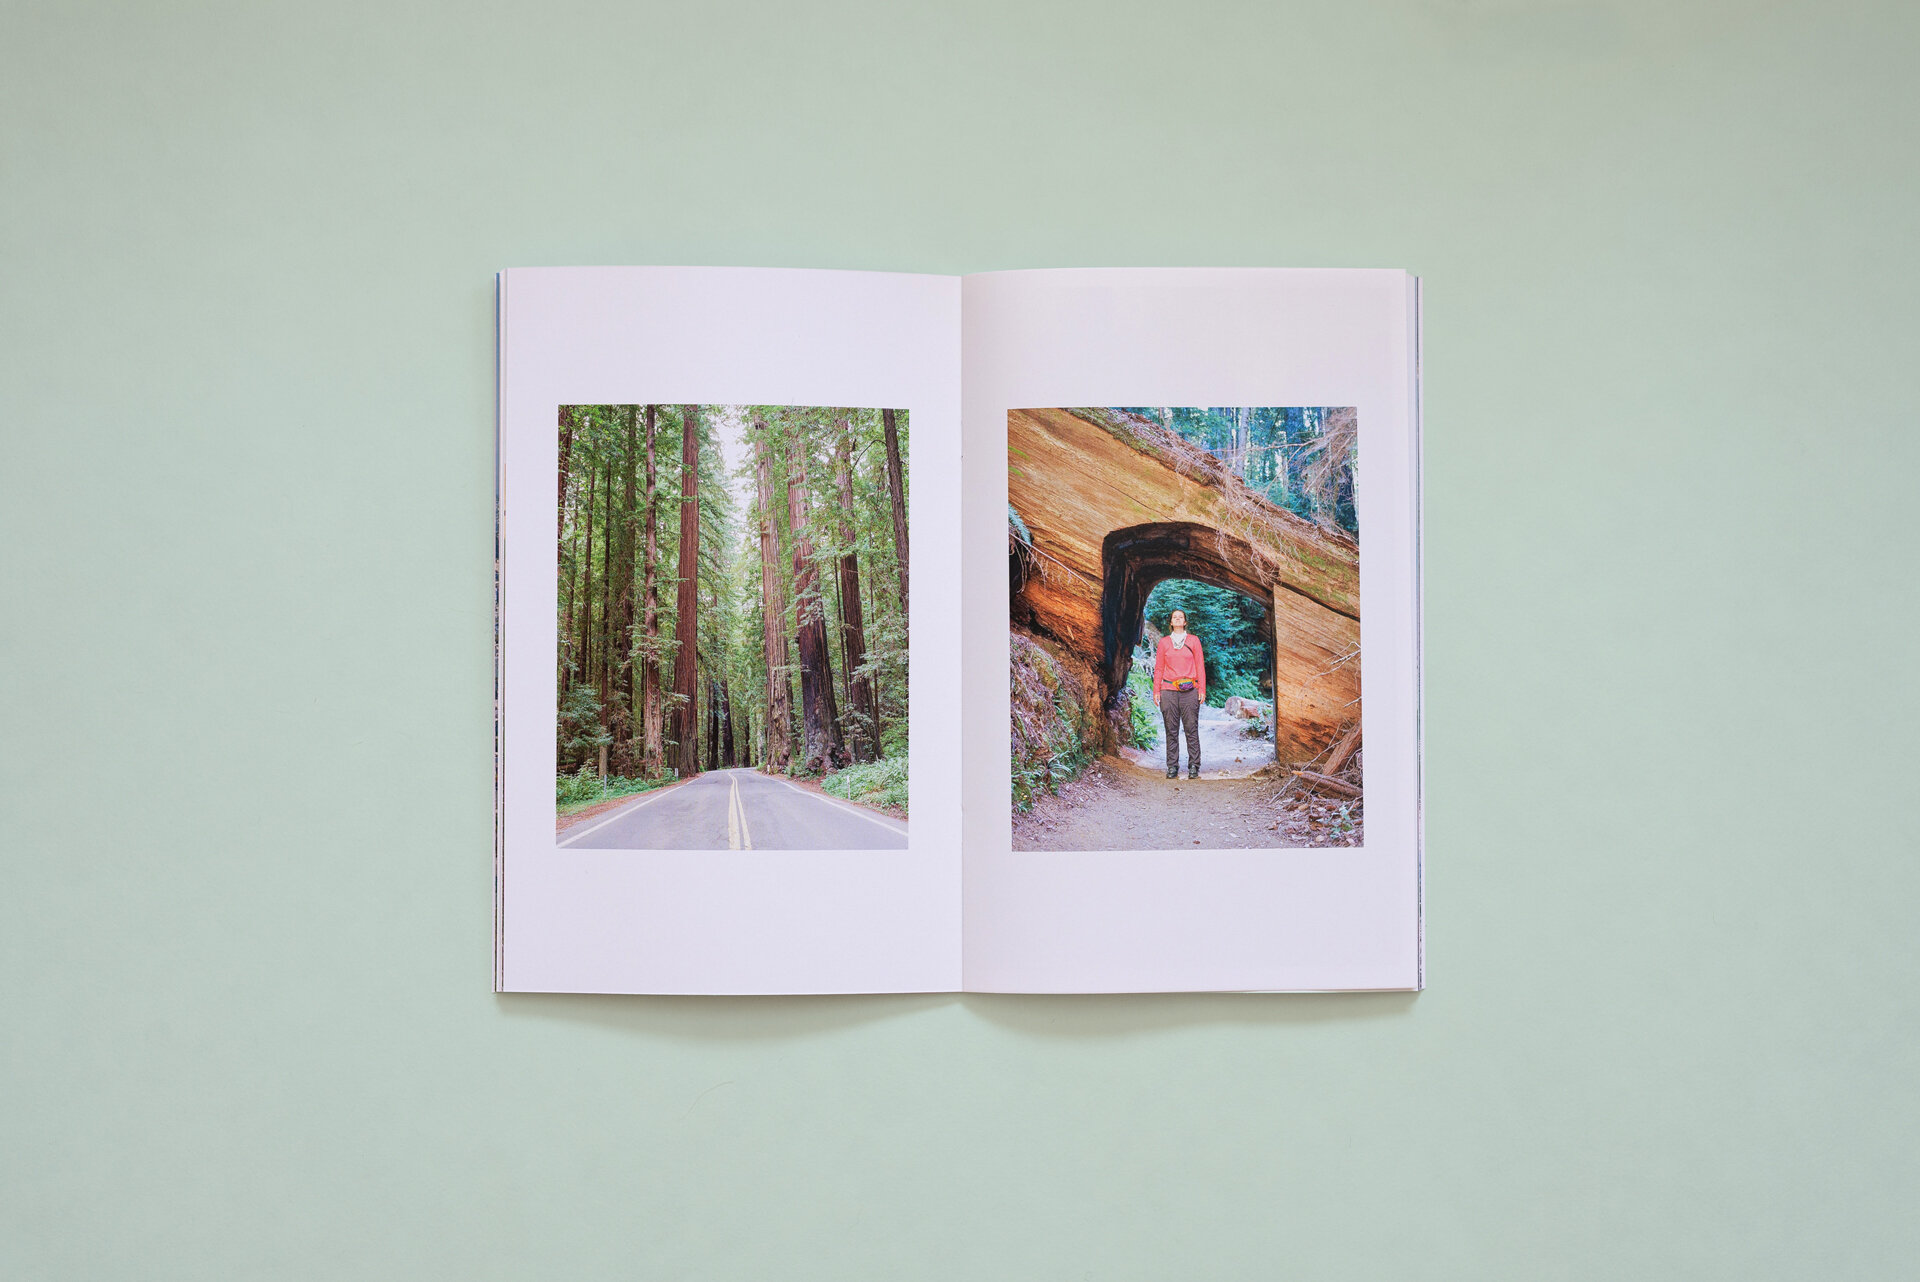
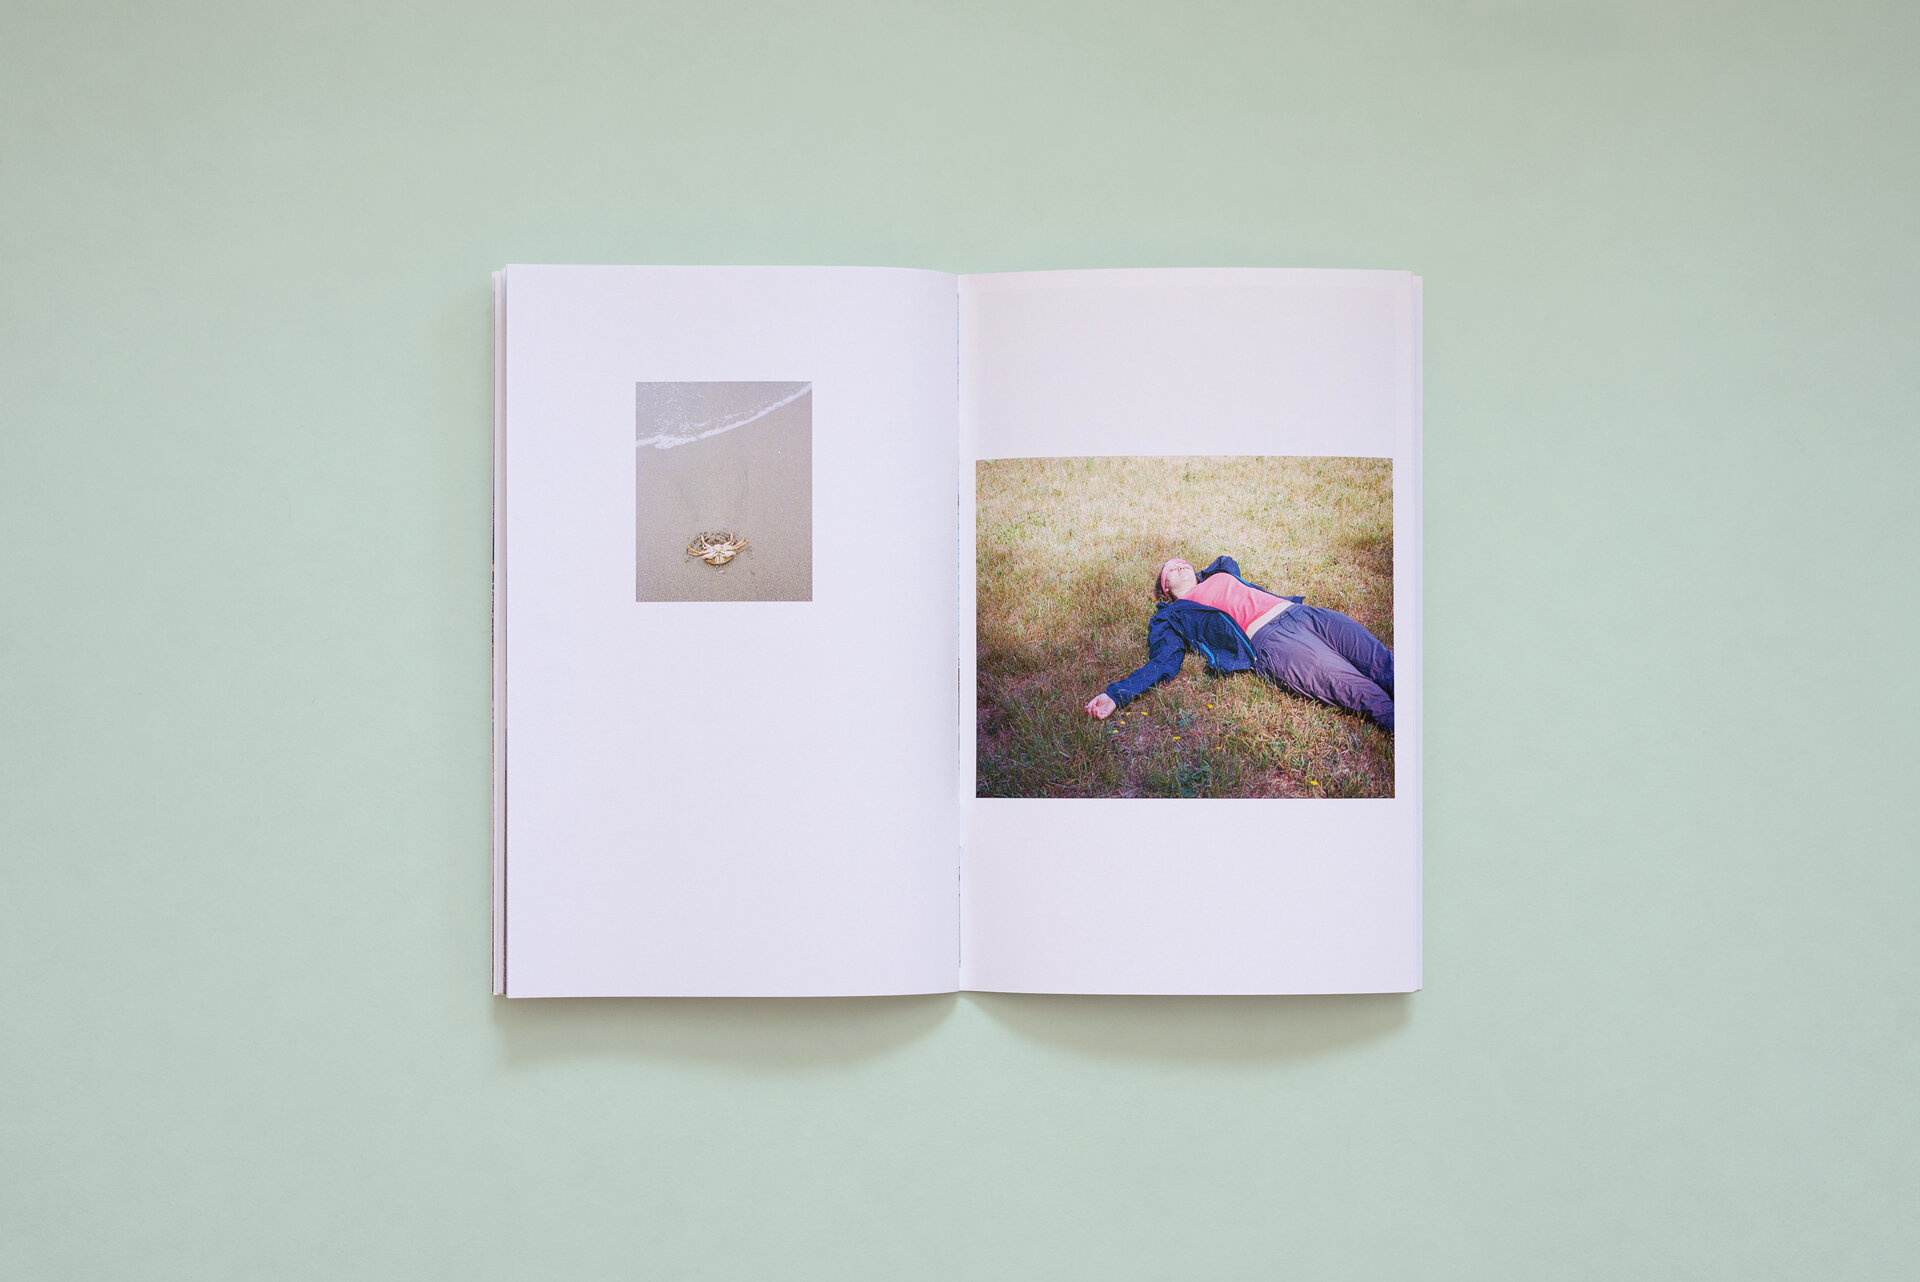
Because my story took place during a single week-long vacation, I had to be intentional about documenting everything during the week since I couldn’t just fly back to California to take more pictures. I had to gather close-up details and wide scene-setters and everything in between, and then piece them together once I got home.

Editing
The editing stage is more than simply importing your images into Lightroom and making adjustments. Photography editing is a sequencing process where you decide which images will stay, which images will go, and how those images will fit together to help drive the larger narrative. It’s what turns your adventure from a family photo album into a story.
This is the most difficult stage for me. I’m guilty of getting precious with my photos and wanting them all in the final edit. But a strong edit often means losing some of your favorite images and keeping some of your least favorite. It takes discipline, but a leaner, tighter edit will always produce a more compelling result.
I recommend taking a break from your images prior to starting the editing process. Time apart has a way of diminishing your emotional attachment to your photographs. And the less emotionally attached you are, the more objective you become. I let two to three weeks lapse from the time I took the photos to the time I started my first edit.

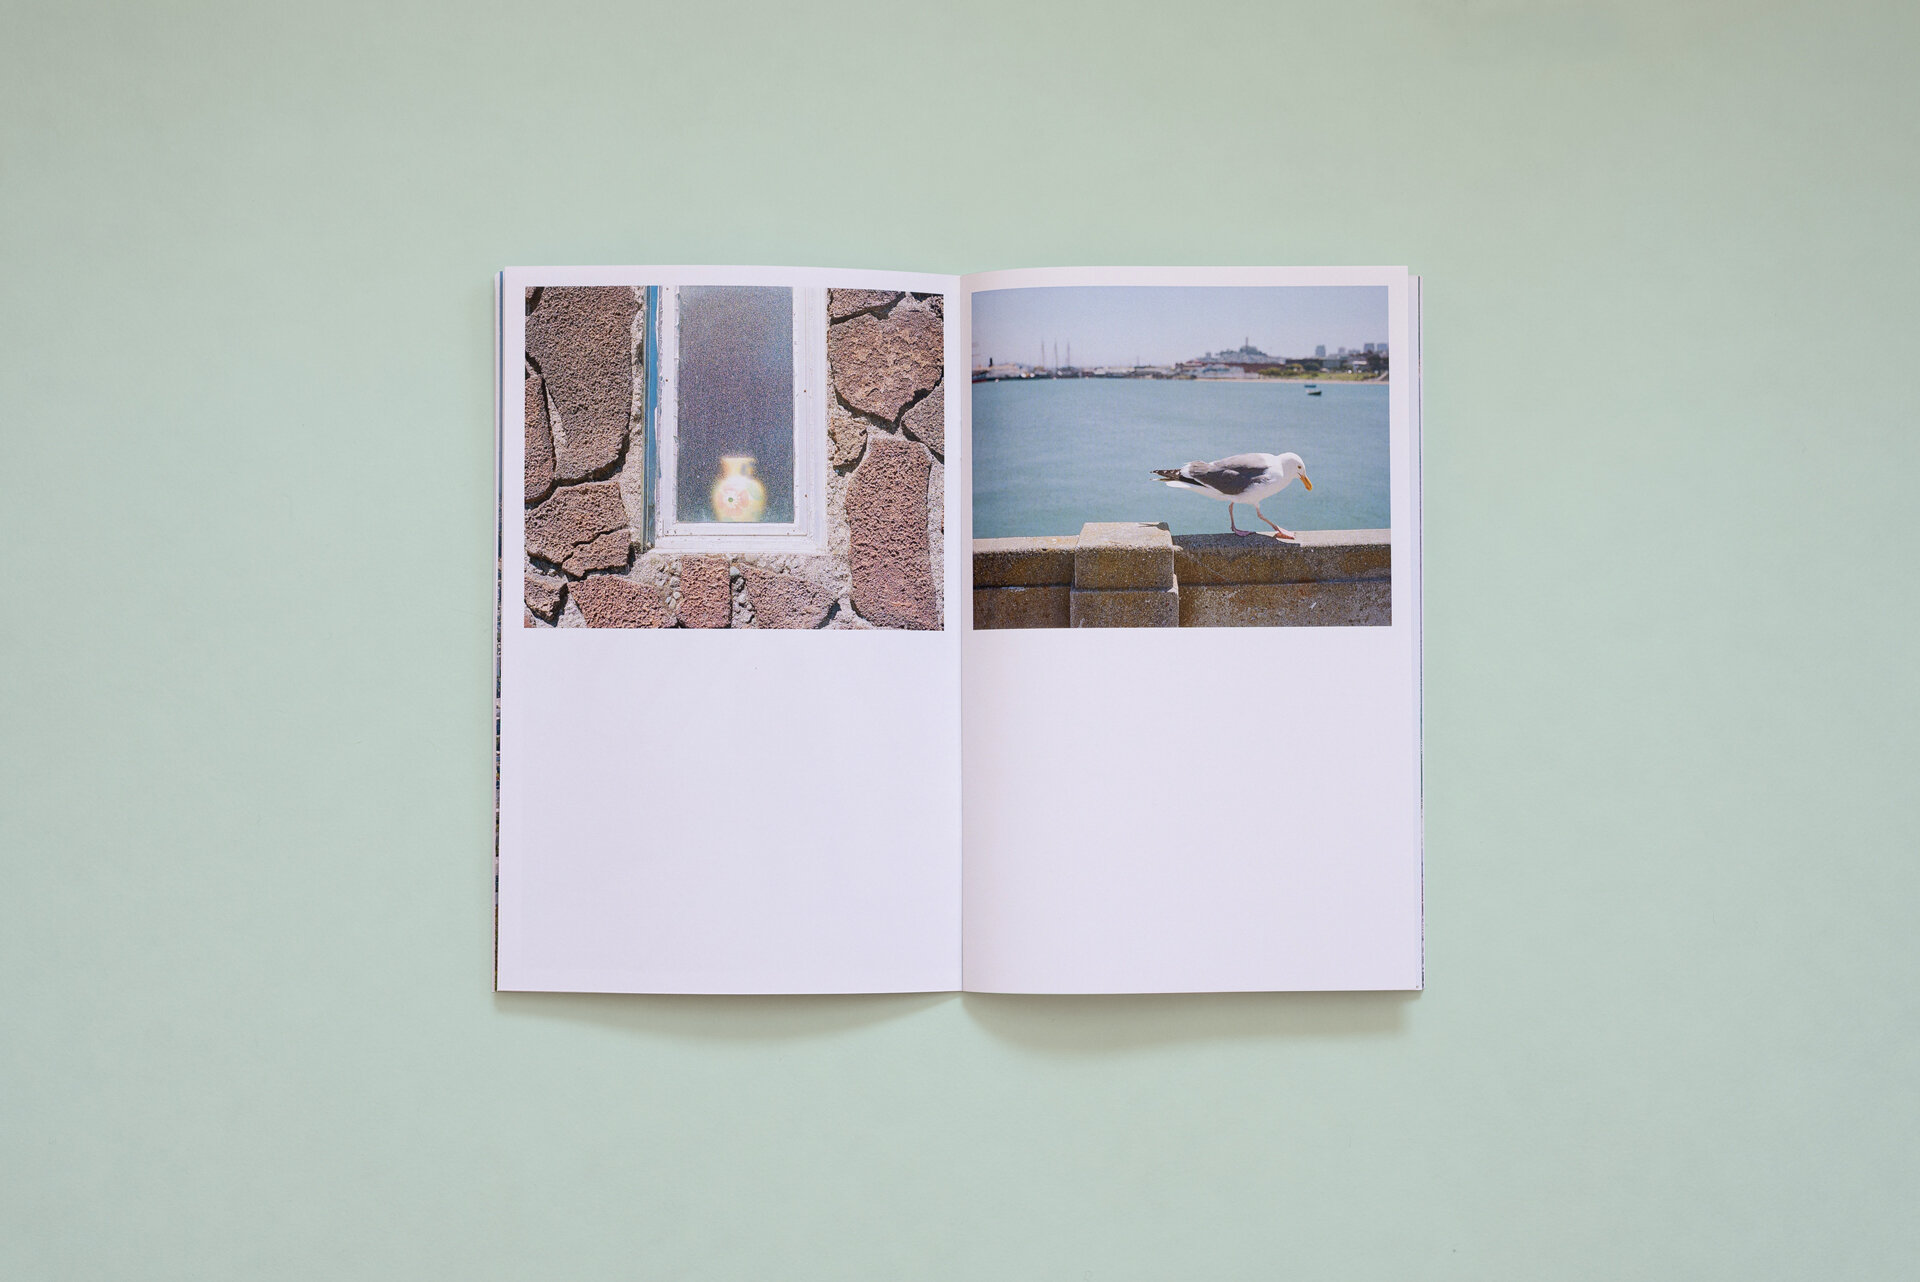
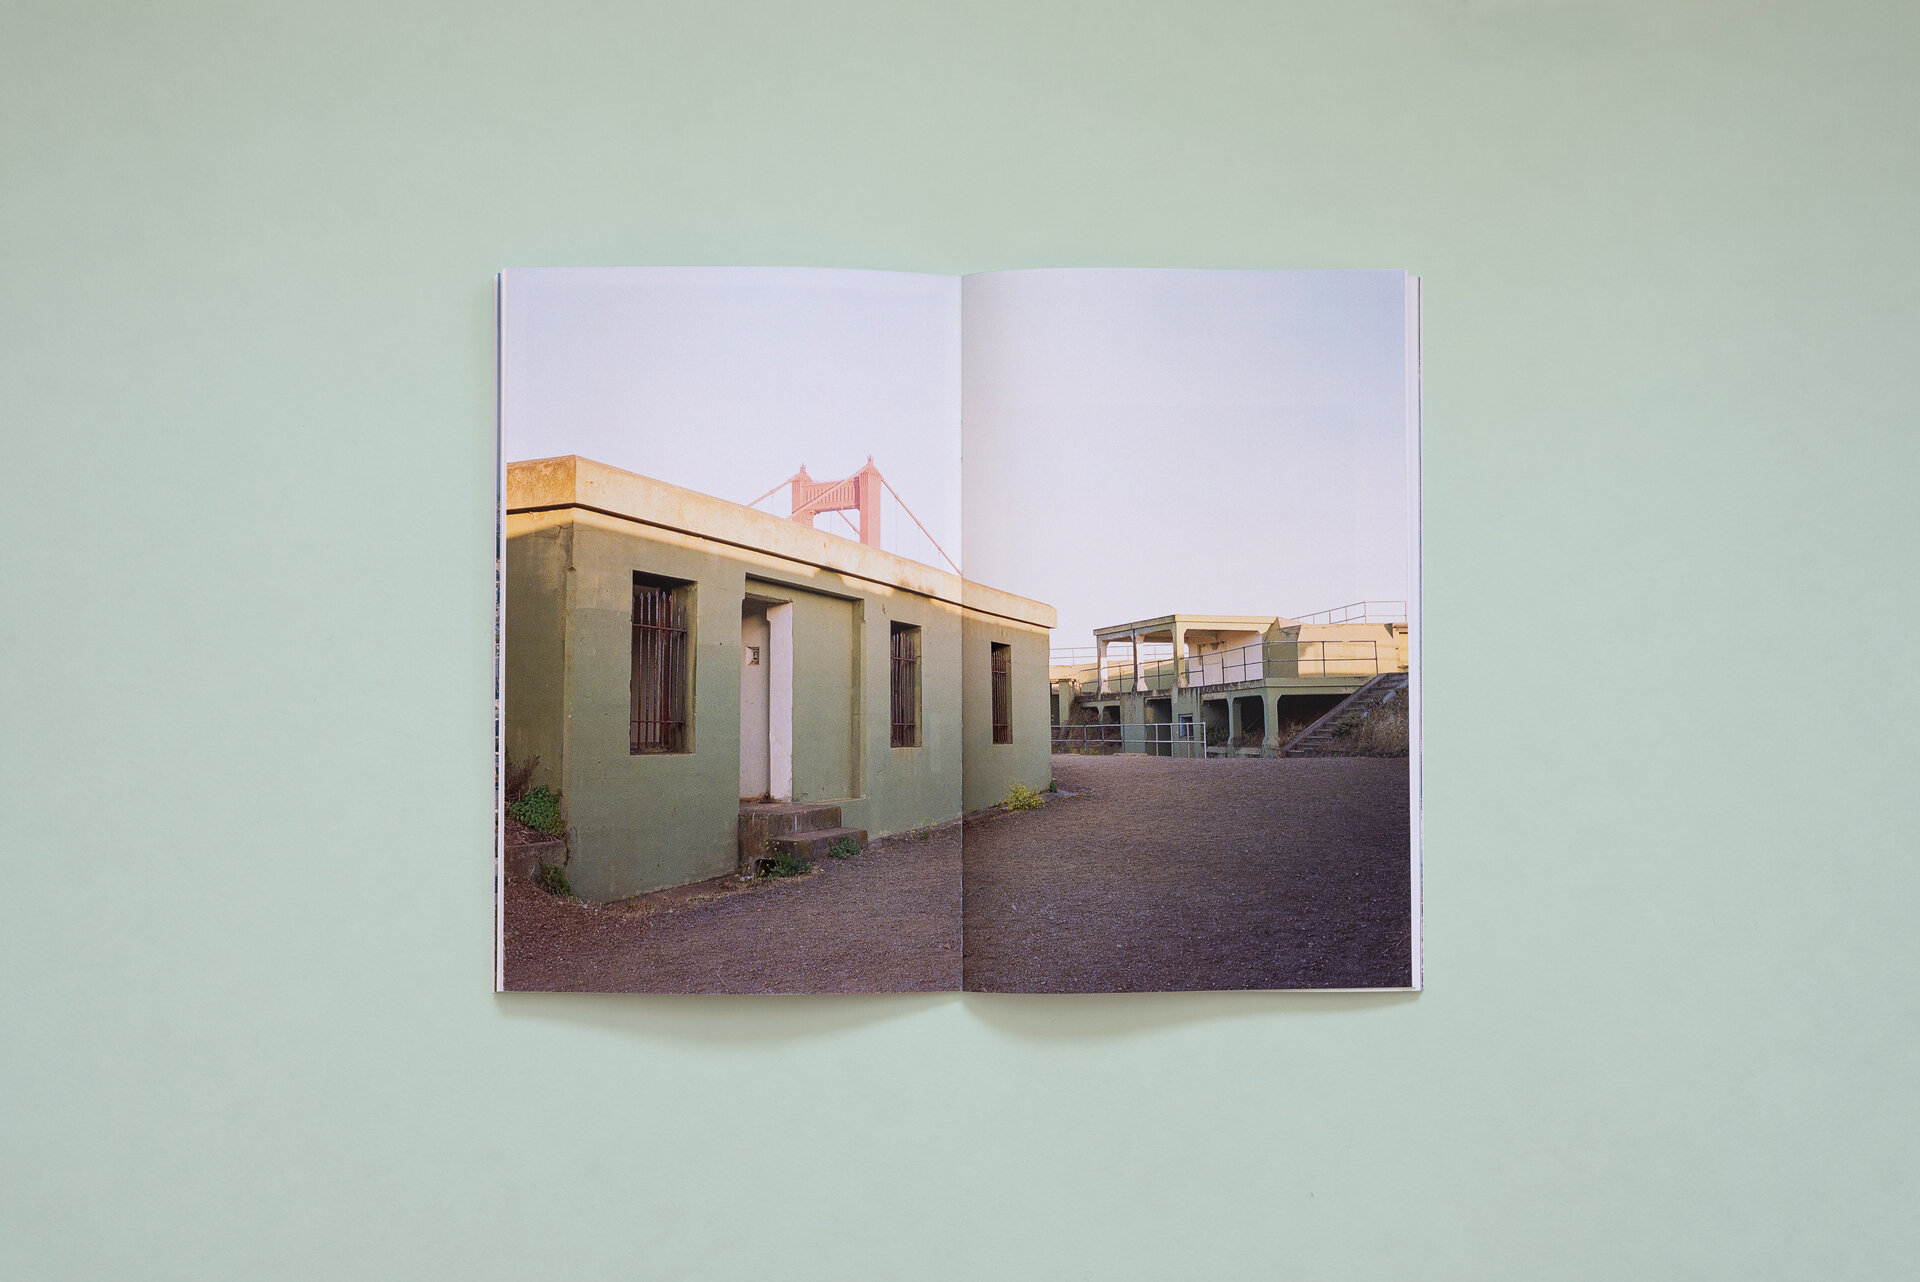
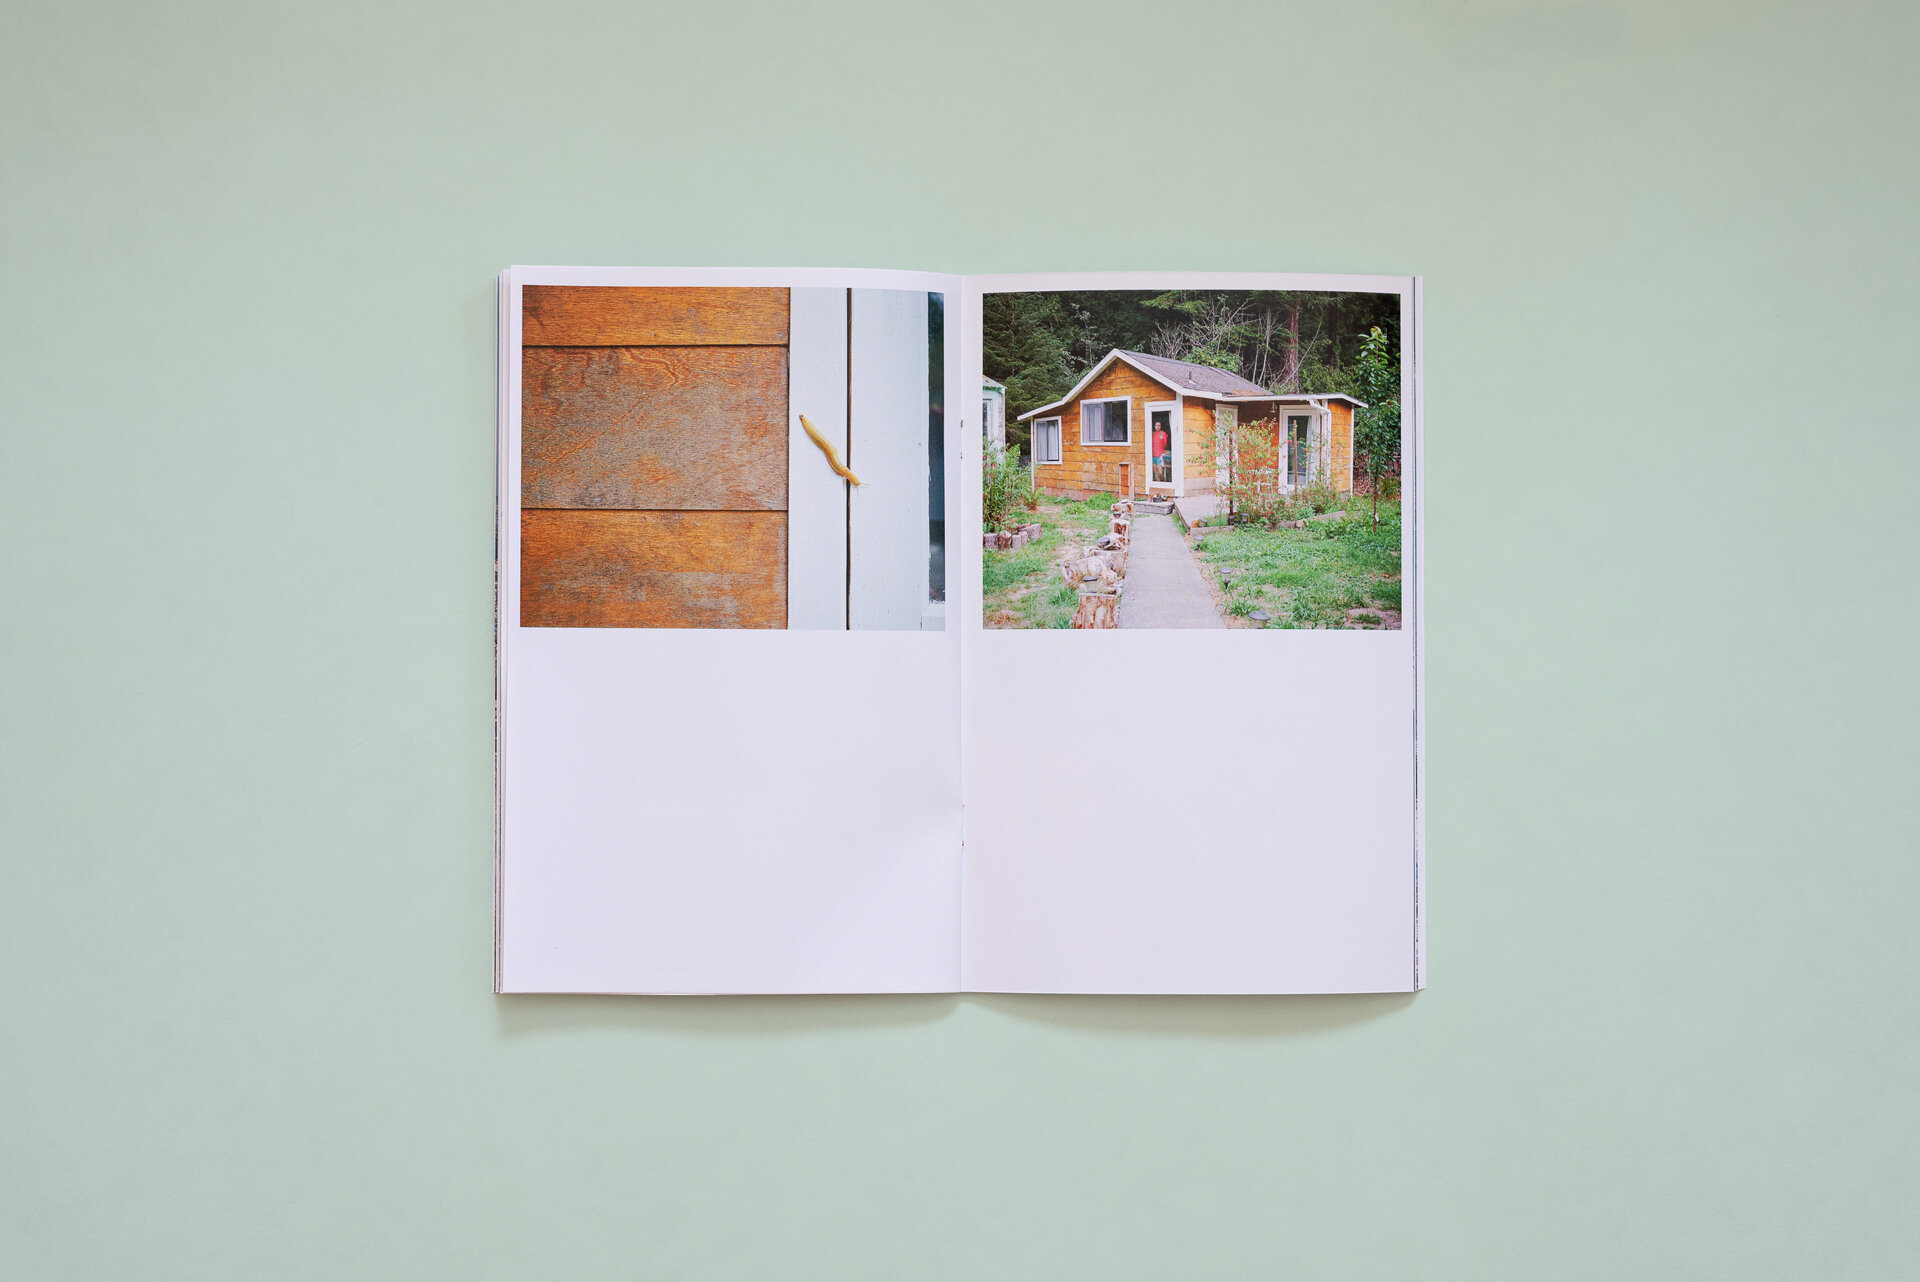
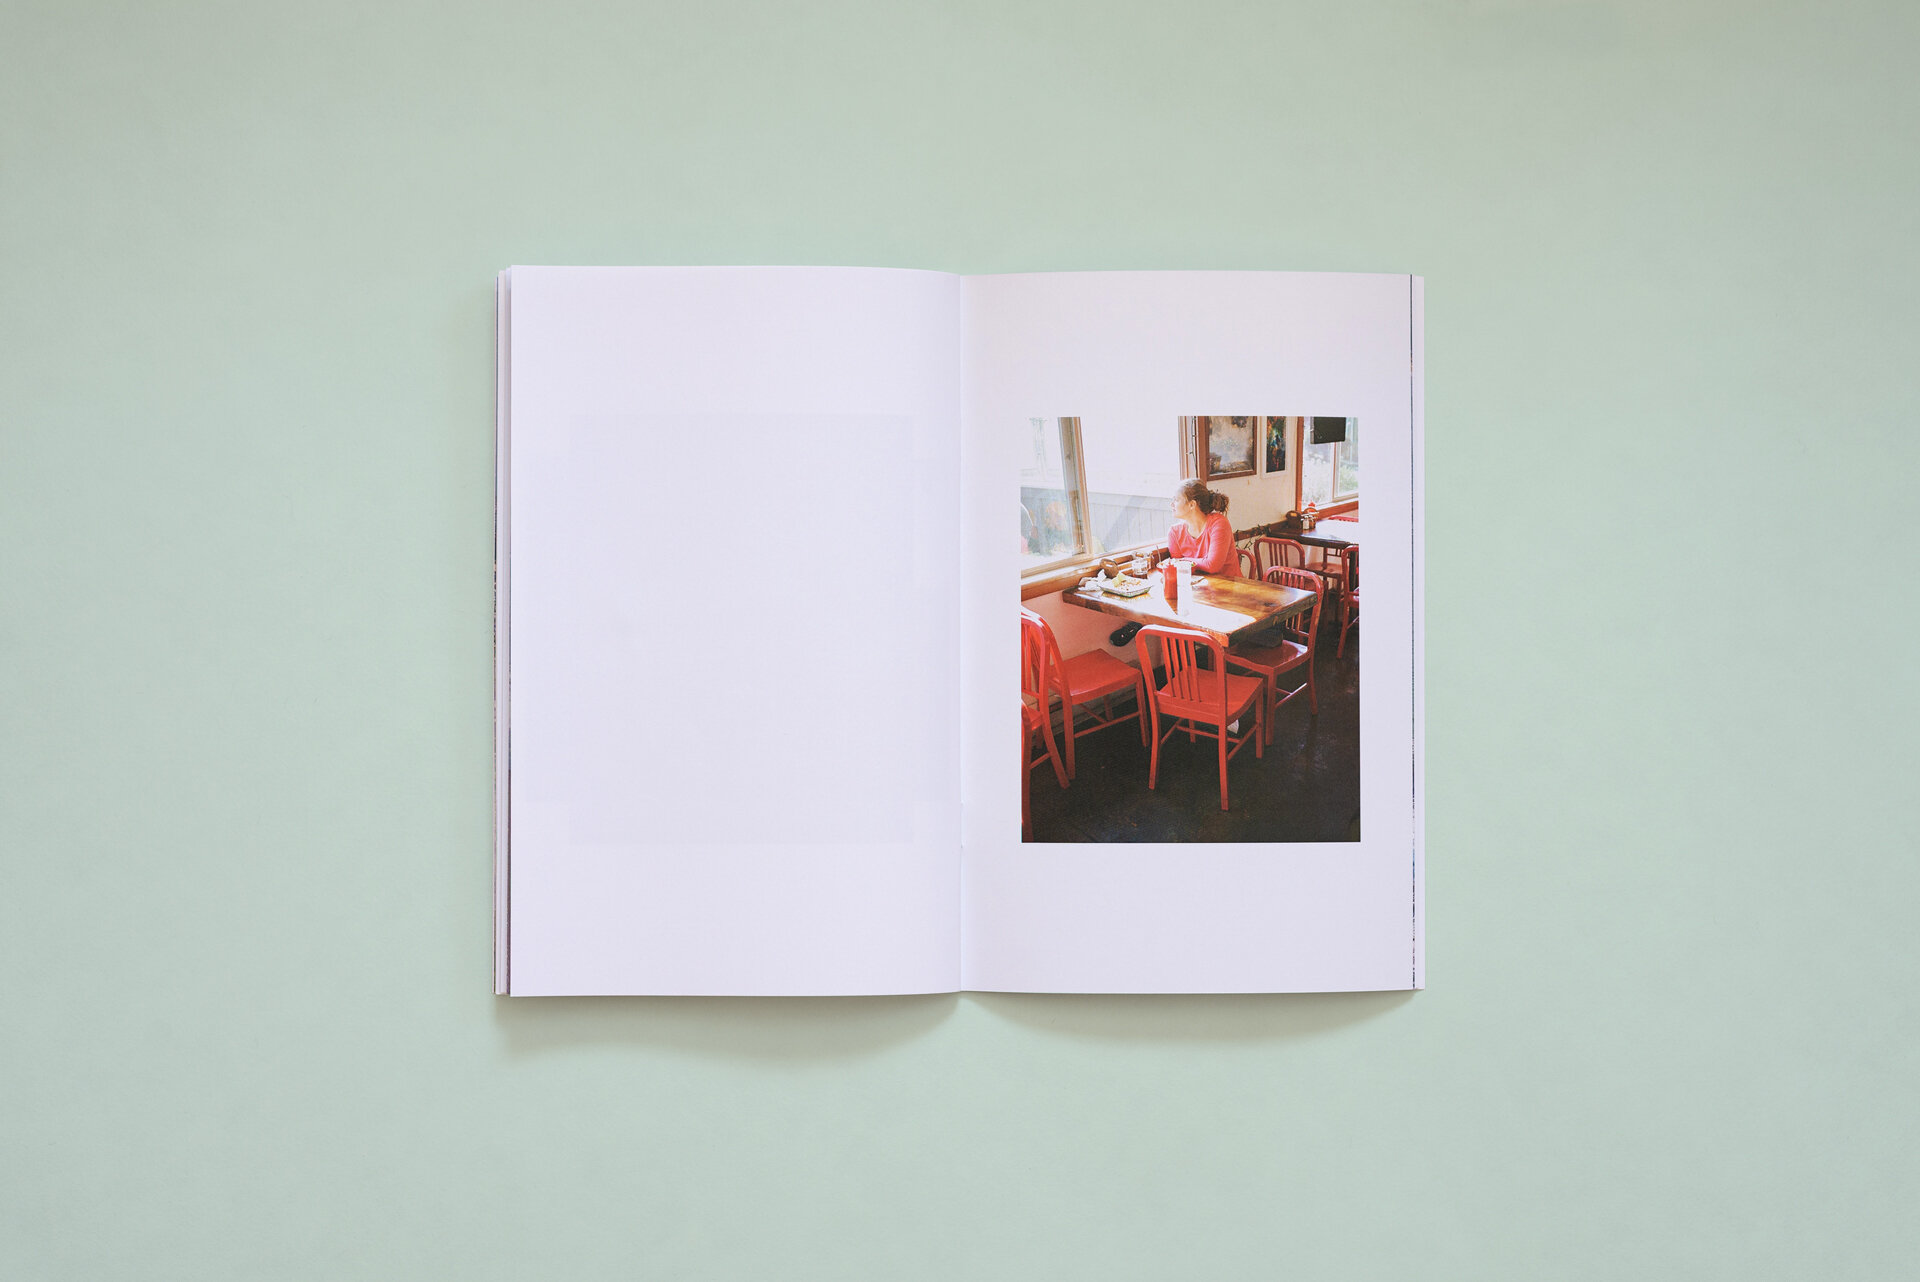
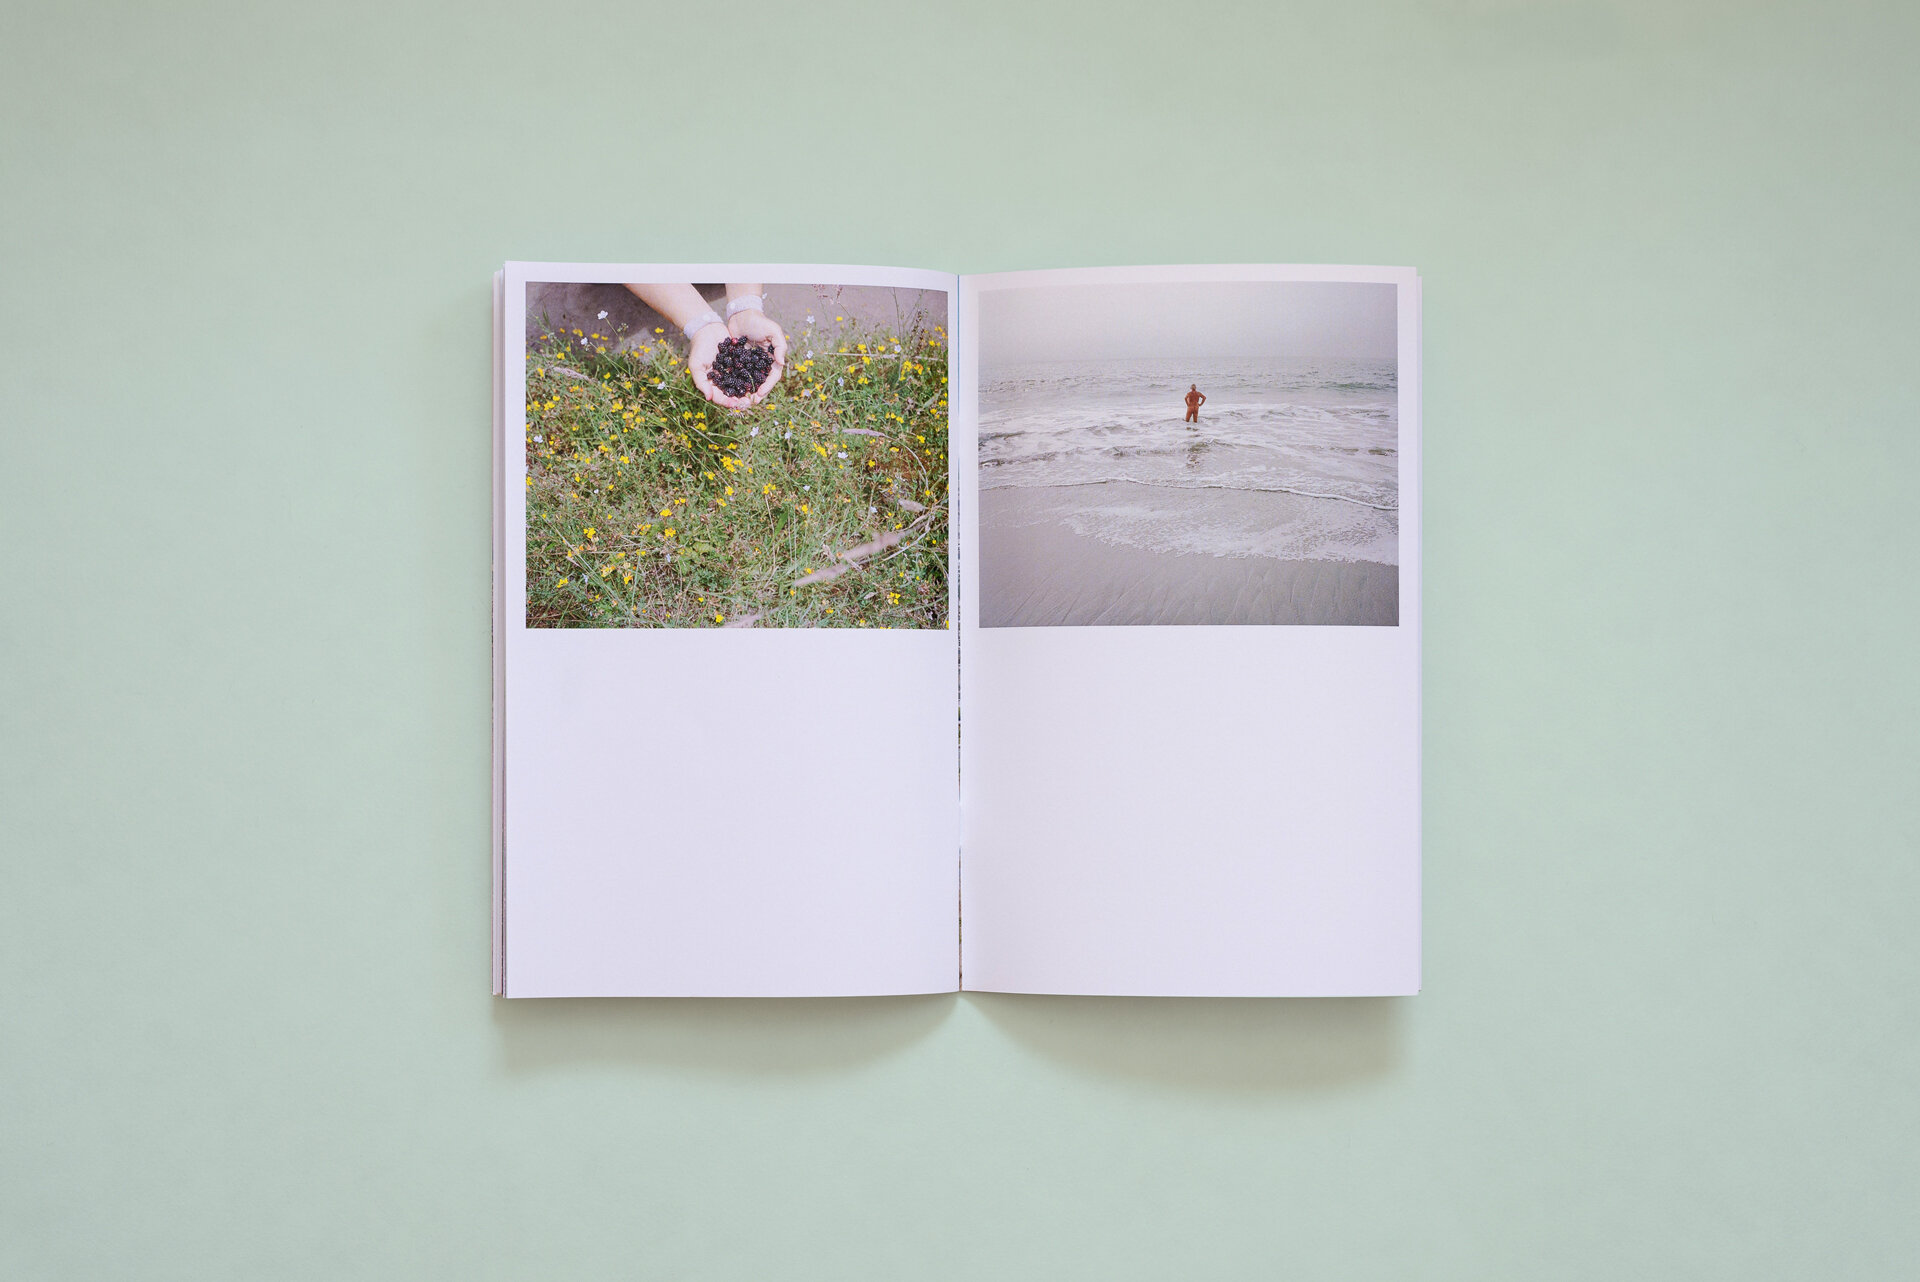
Editing is also the stage where you begin pairing images to create interesting spreads. Spreads provide new context and meaning beyond the content of each individual image. I find this is easier done with physical prints than on the computer, so I printed small thumbnails of each image, taped them to my wall and spent the next couple weeks moving them around to form new and exciting combinations.
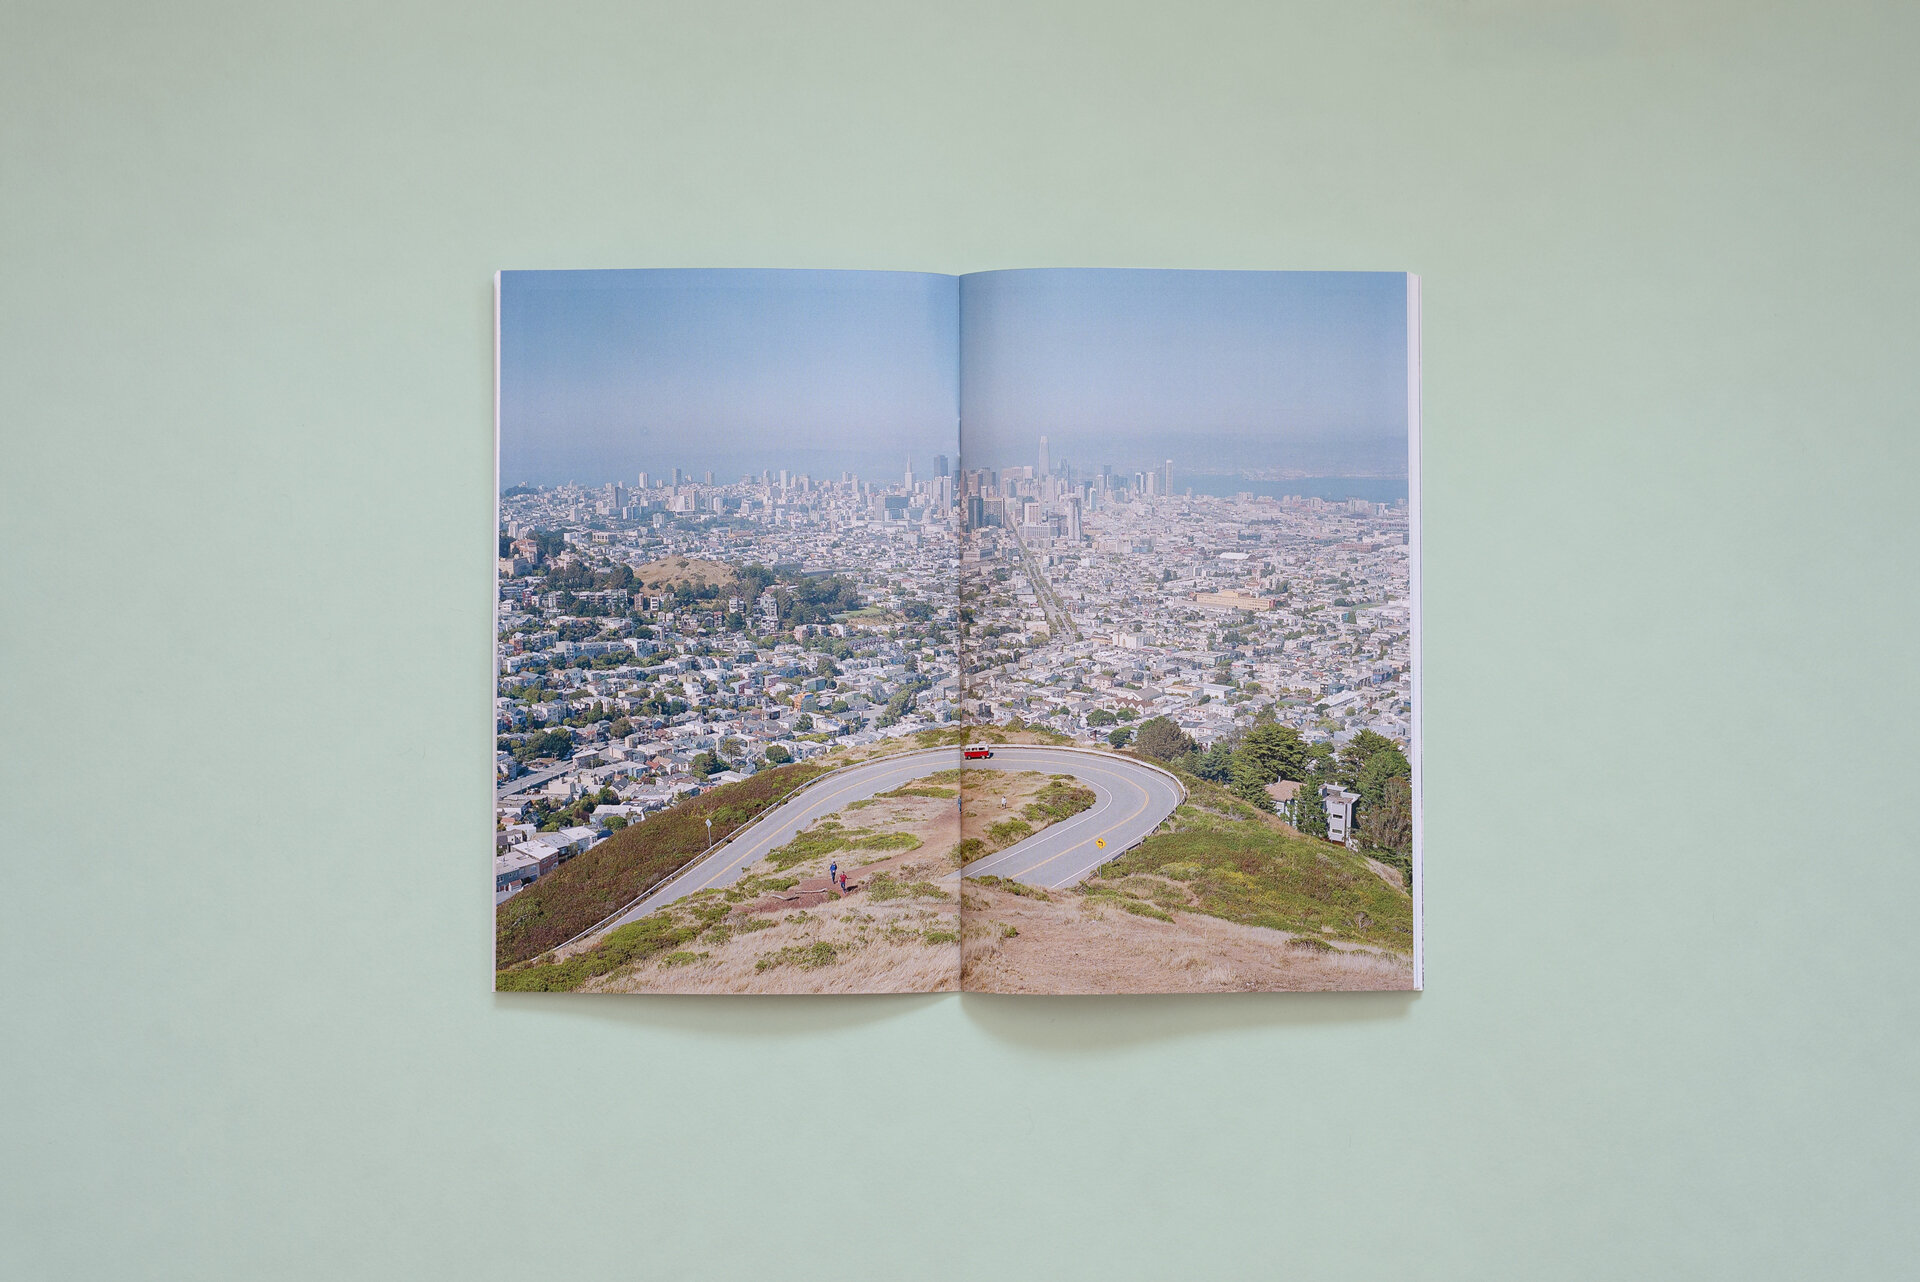
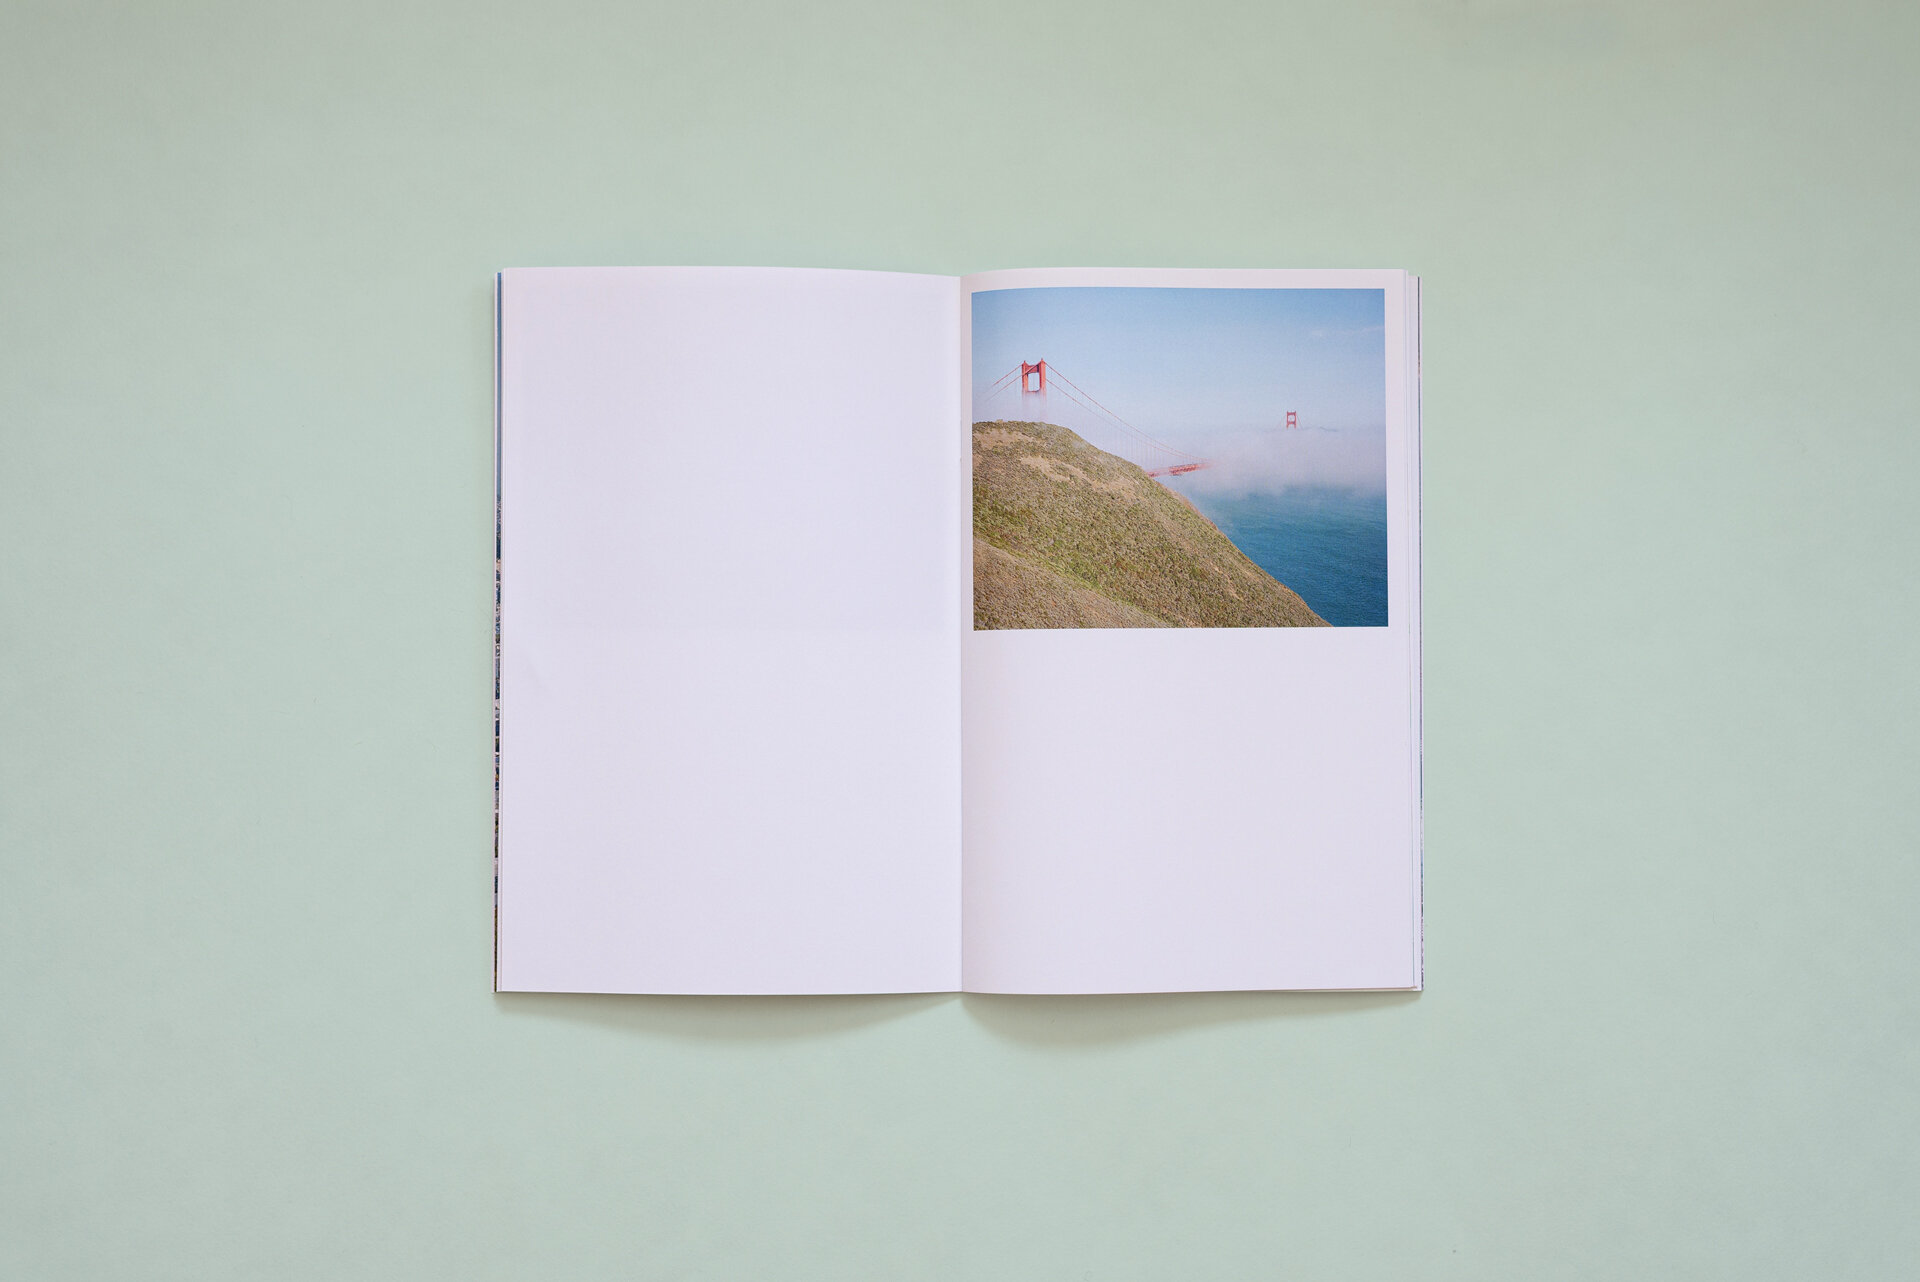
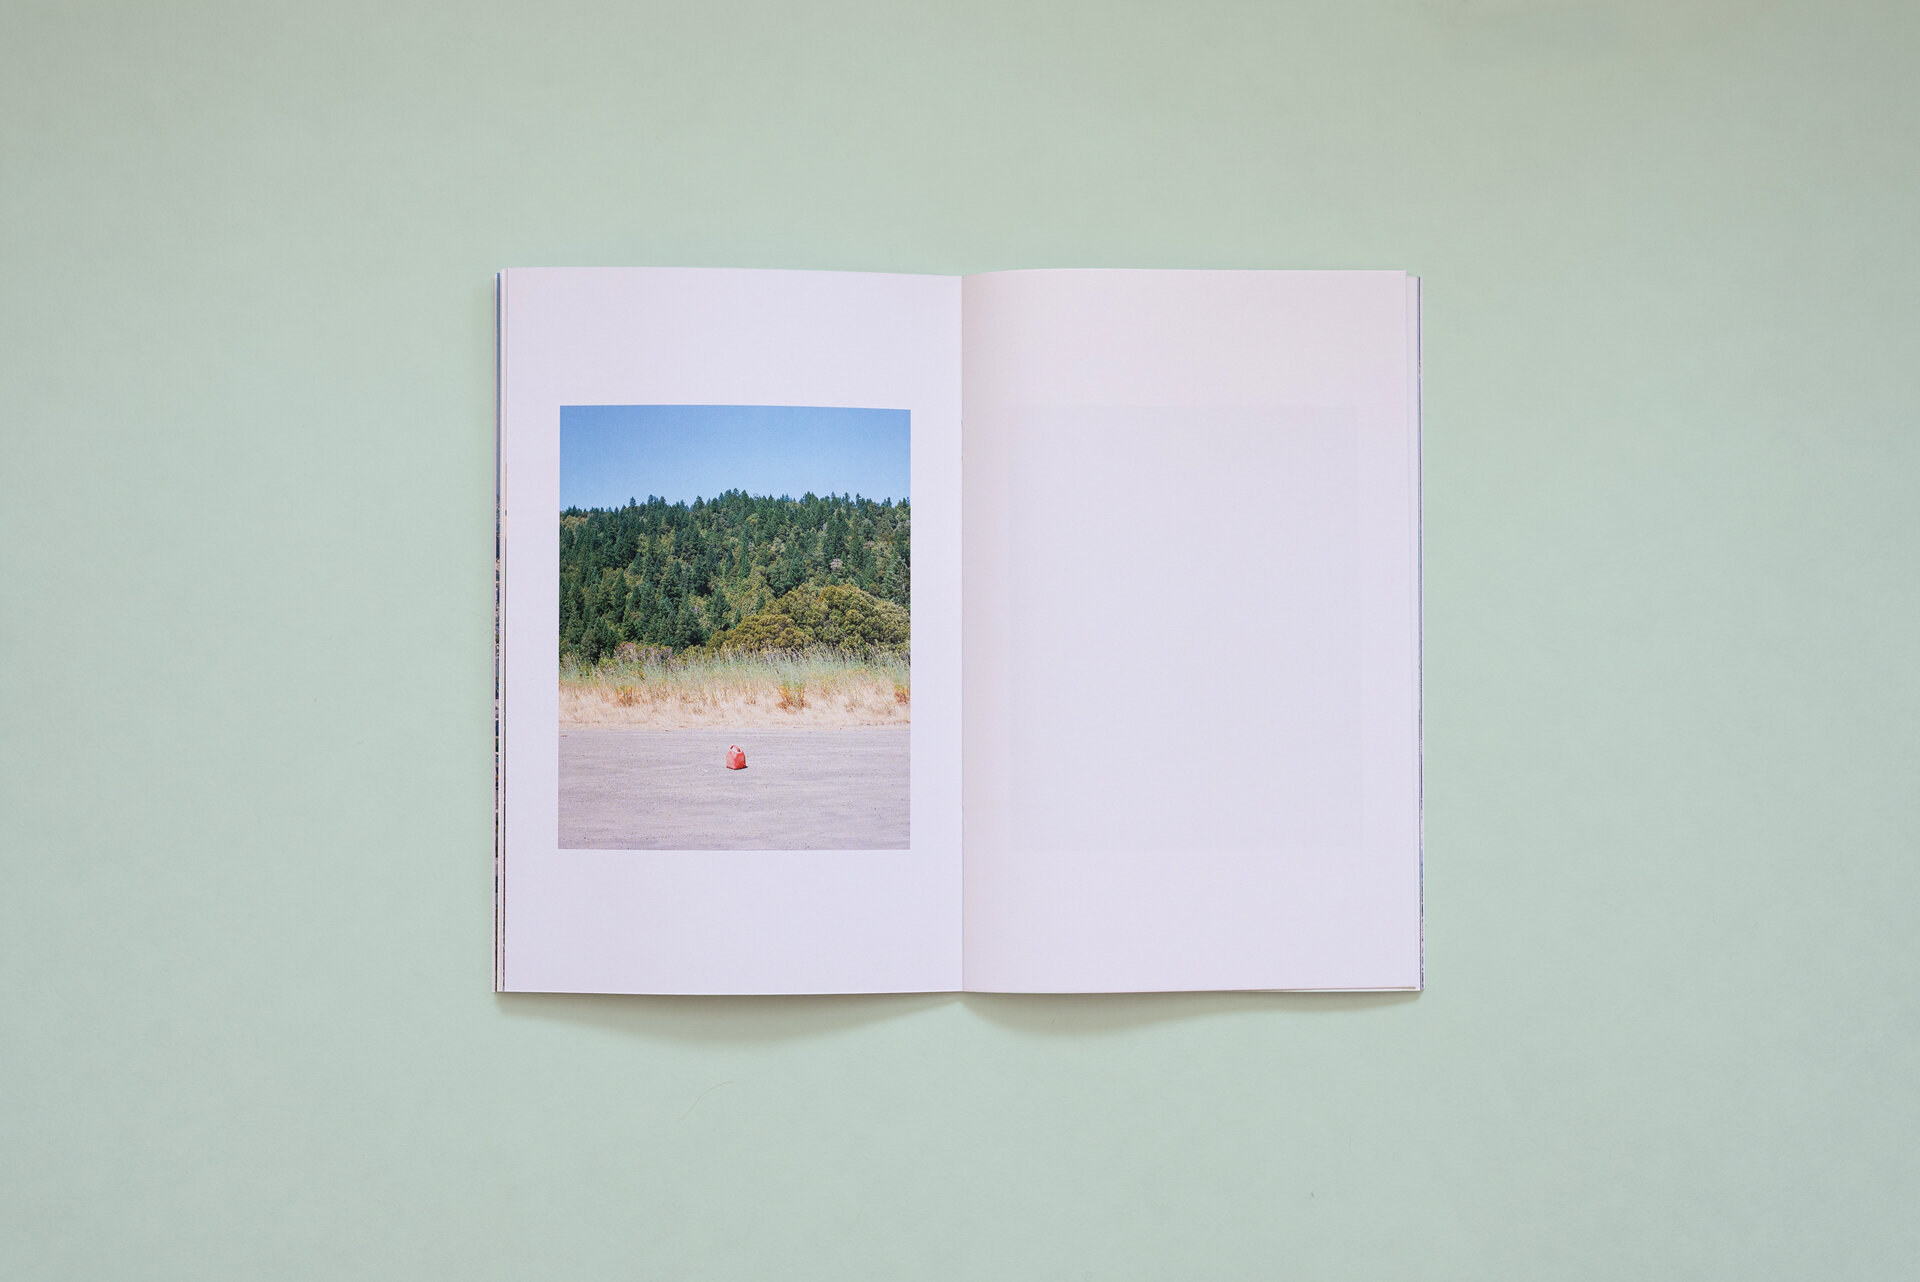
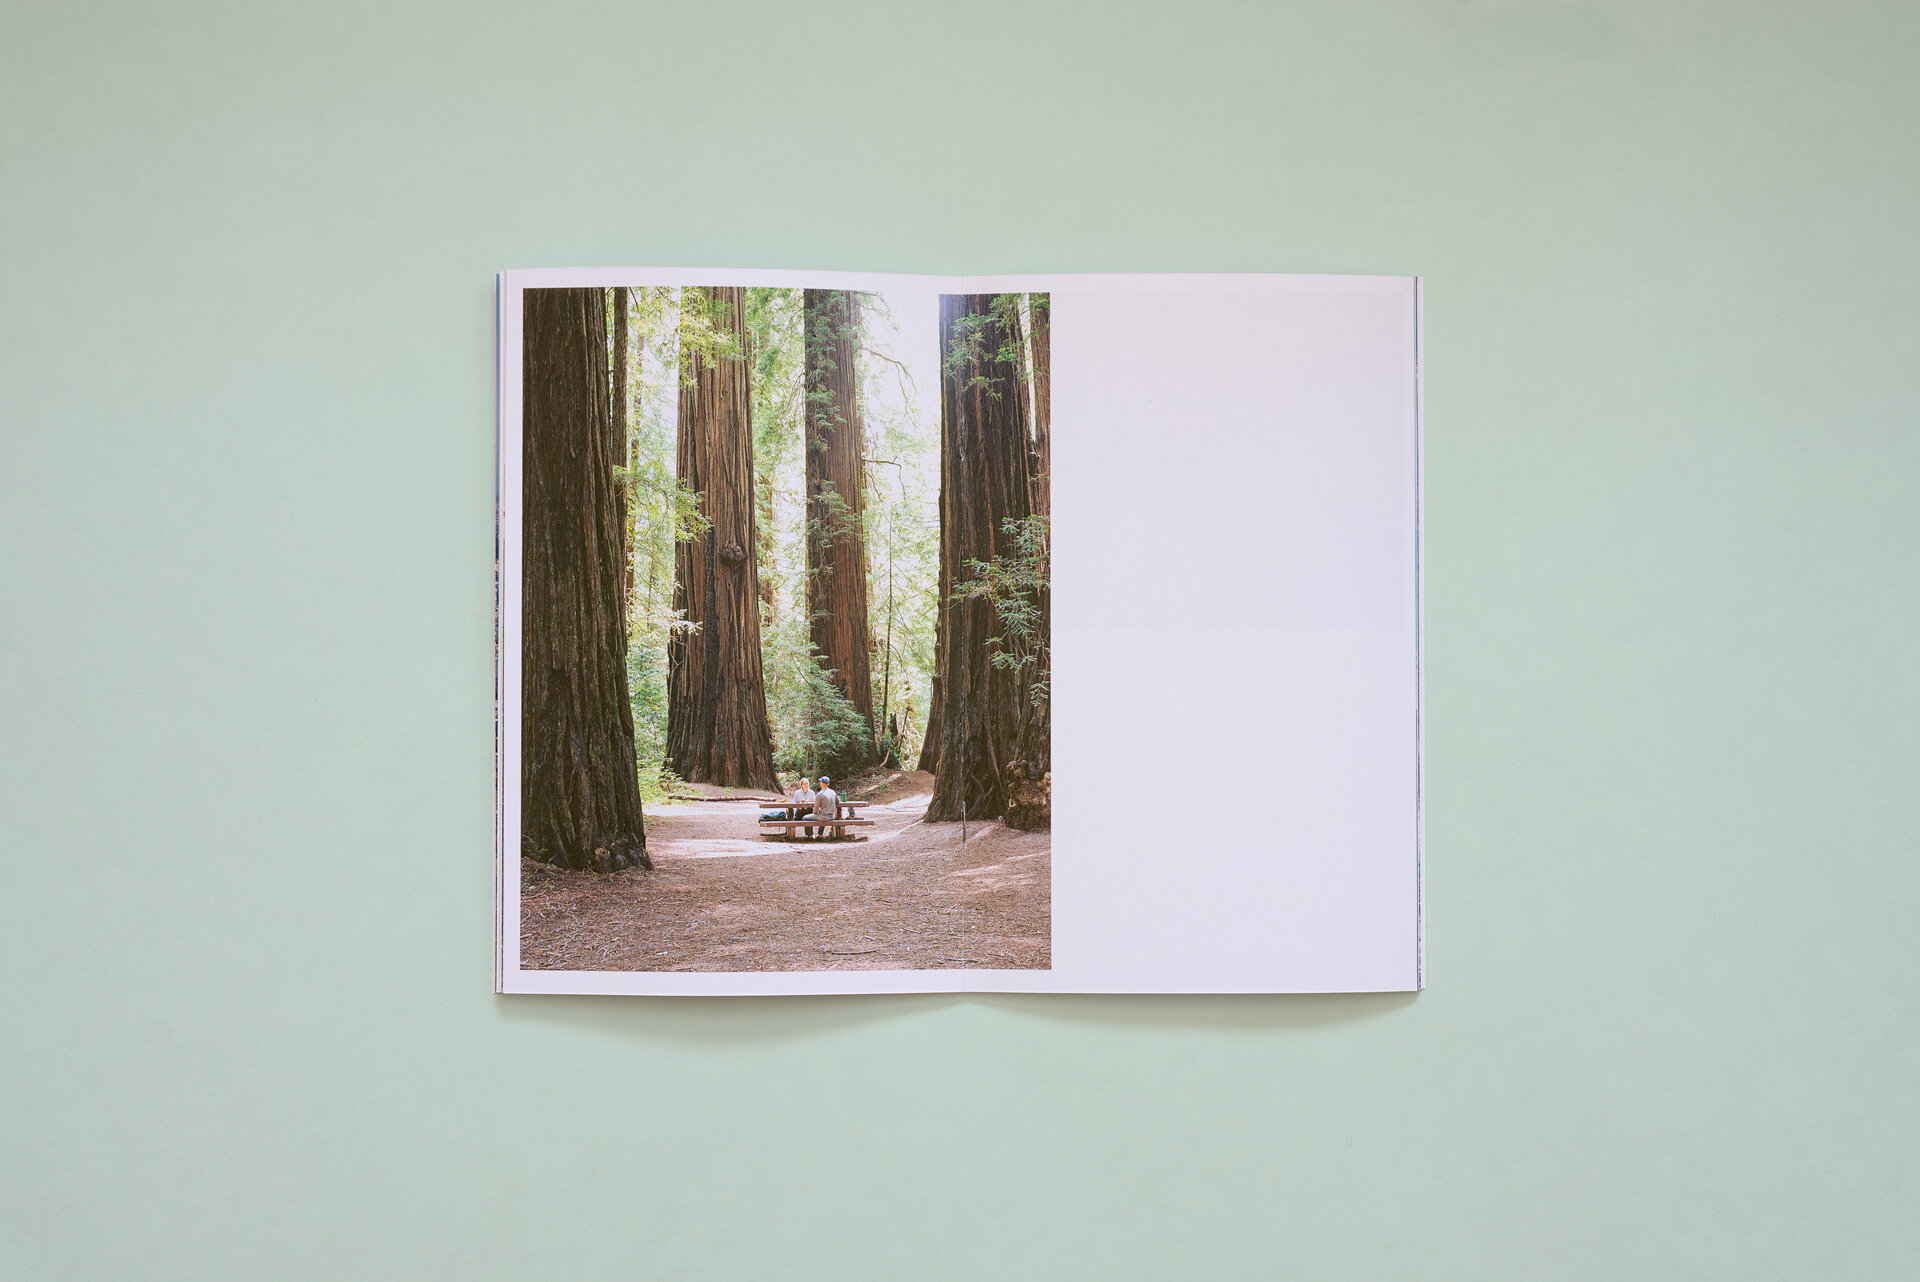
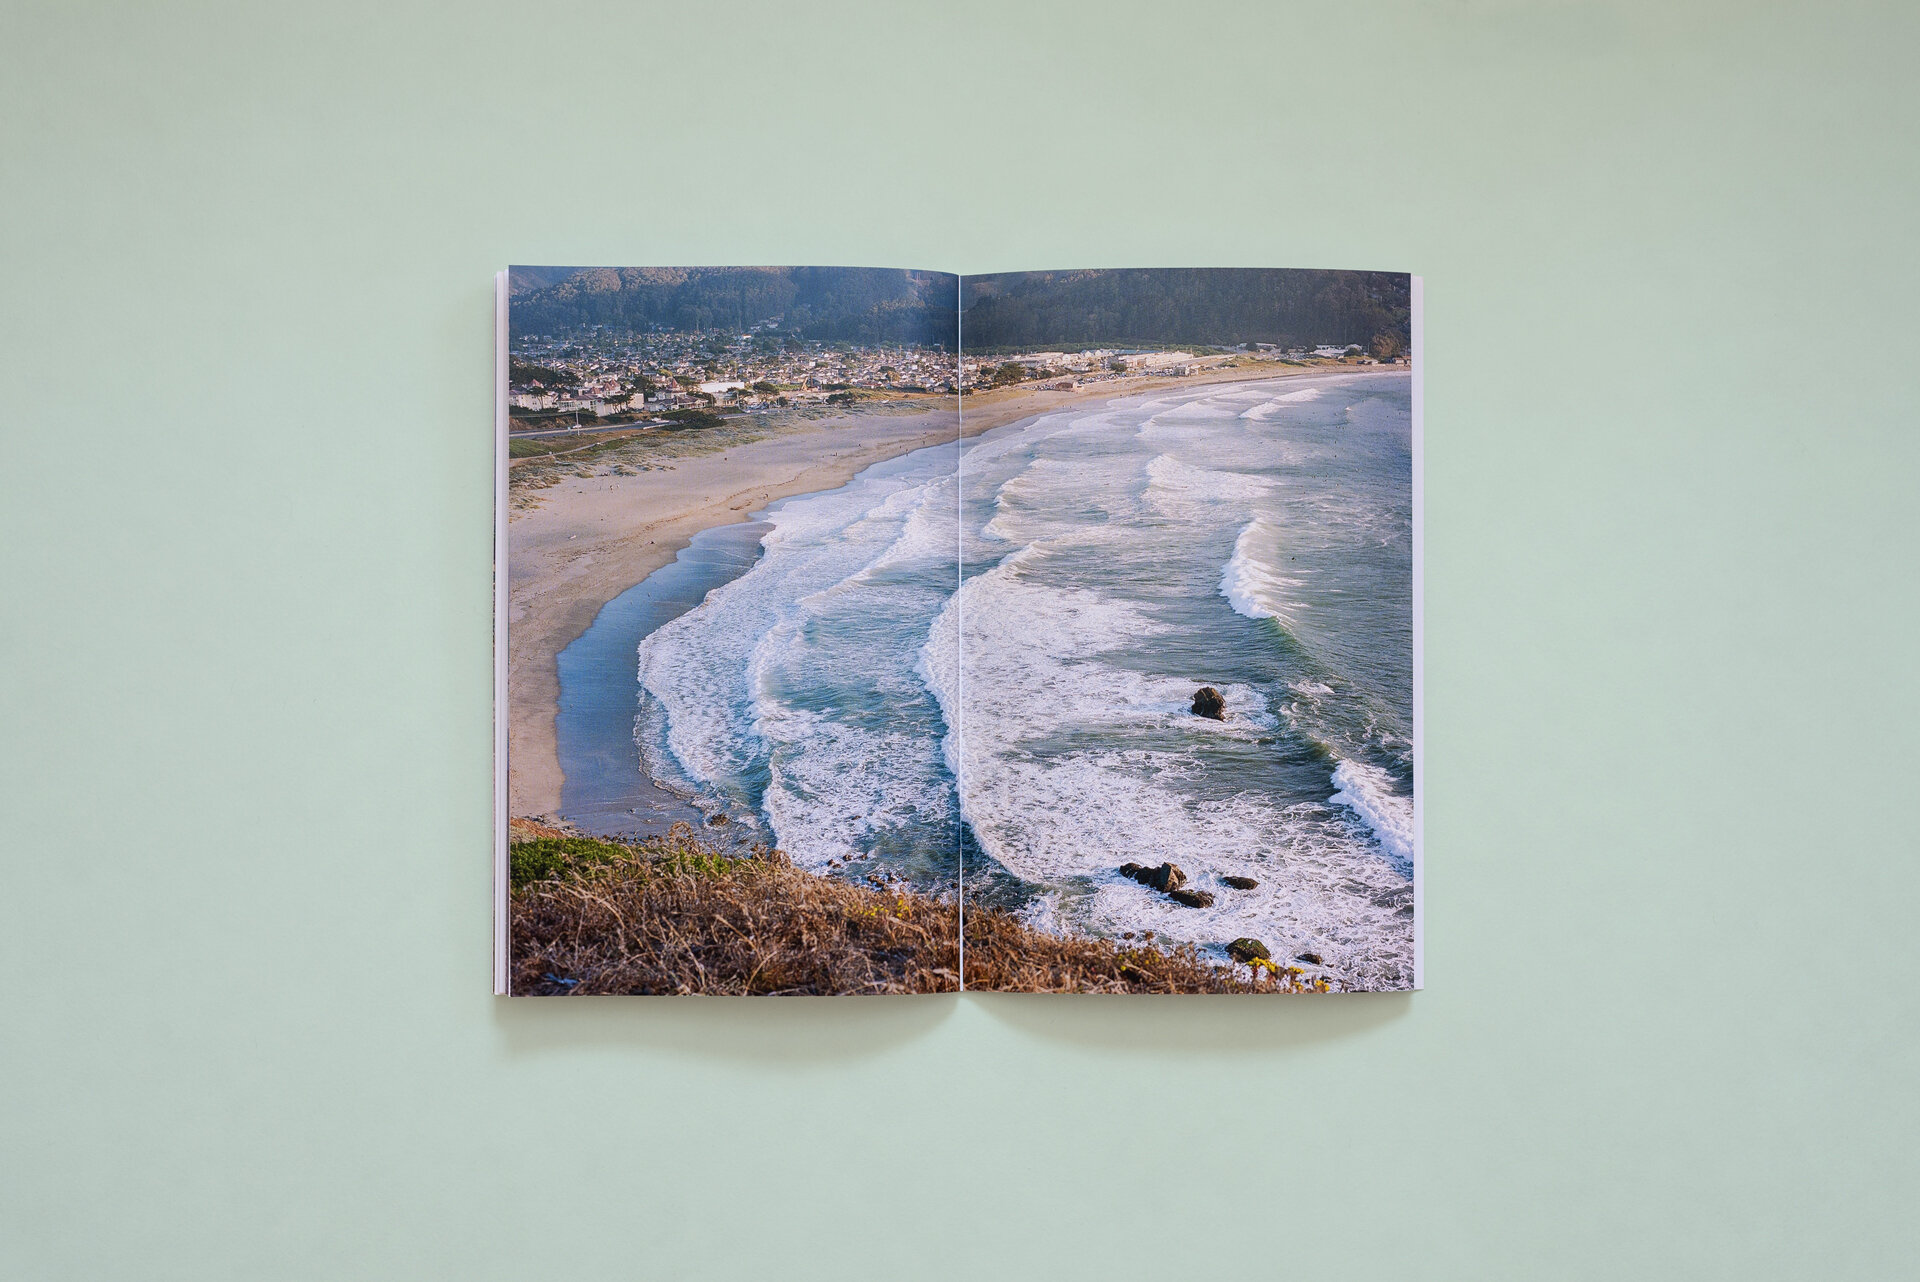
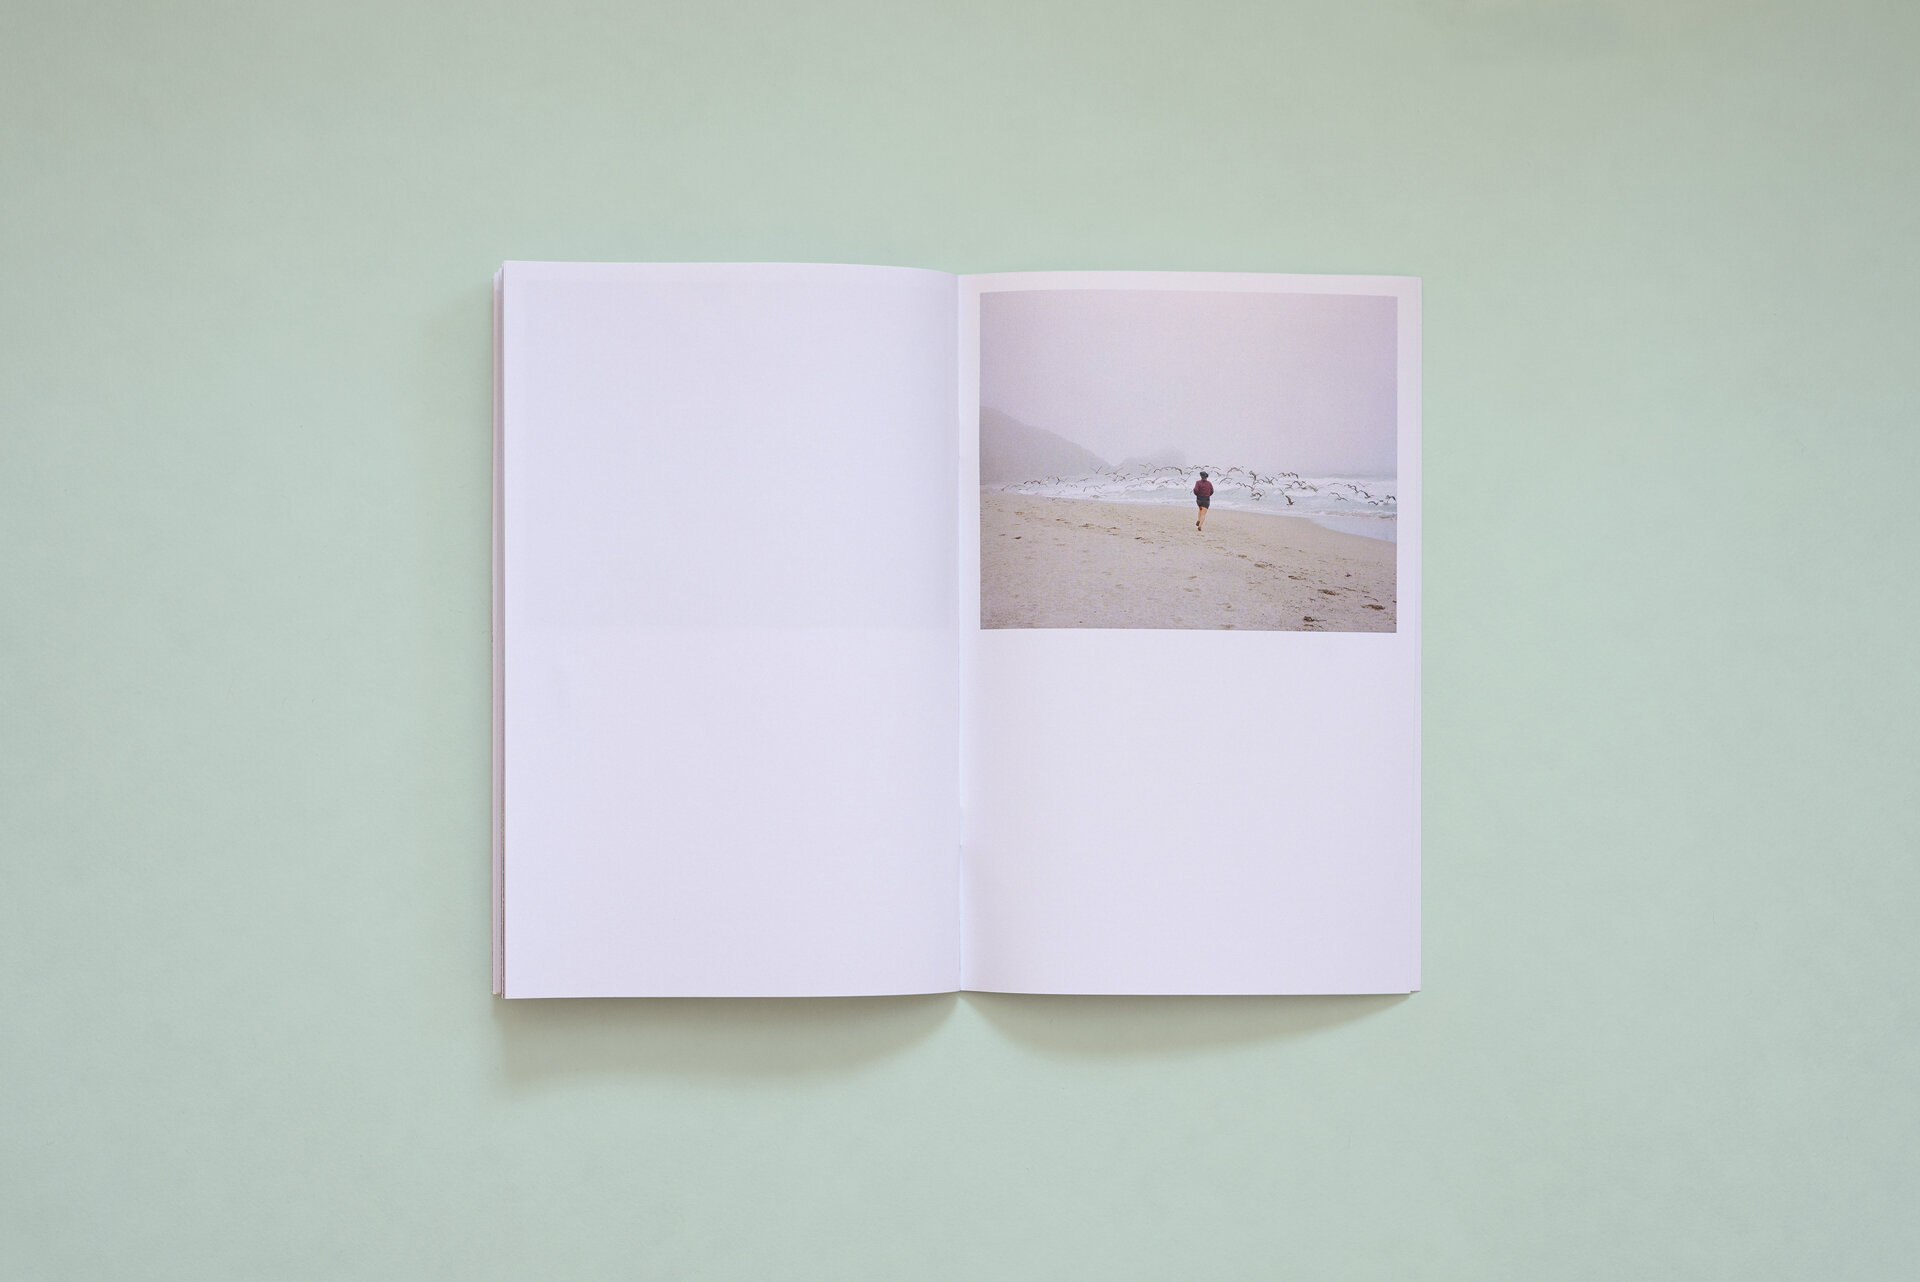
One of my favorite spreads from the zine is the one in the image above. It was the perfect climax to my story, where the exhaustion from city life transitions to an escape back into nature.
When you’re editing, remember that you don’t need to keep everything literal or in chronological order. Finding a theme helps give your project a focus that drives the story forward. I decided to focus my story around the theme of city vs. nature, something Jenny and I experienced heavily during our trip. Rather than simply recalling everything we did in the order we did it, I wanted the zine to be more of a reflection of how we felt.

Designing
If you’re a designer like me, then you’ve likely already jumped the gun and started setting up your design file. However, it’s generally best to have your story mostly laid out prior to beginning the design process. Otherwise, you waste a lot of time moving things around before you even know what it is you’re trying to say.
This isn’t meant to be a technical tutorial, so I won’t go too much into the design process. I used Adobe InDesign, which is the gold standard for layout design. For something as simple as a photography zine, you don’t need to know a whole lot. Watch a couple YouTube videos about how to set up a document, place images and export your file and you’ll be well on your way. You could also theoretically create your entire zine in Photoshop, but it would be a bit more tedious. Download a 7-day Adobe Creative Cloud trial here.
A couple things to consider when setting up your design file are the final zine size, which is usually determined by your budget and the size/orientation of your images, and the type of binding you want to use. For the sake of budget, I went with a saddle stitched digest size (5.5x8.5) booklet printed on 100 lb. satin paper.

Printing
There are many options to choose from when printing your zine, including online companies, local companies or even printing yourself. If you plan on outsourcing the job, I strongly recommend finding a local printer, rather than an online company, who can work with you, explain things and provide physical proofs.
I use a local company here in Gainesville to do my printing. They are kind, they work with me and explain things I might not have thought about. They also have paper swatch books I can reference and provide physical proofs so I know what I’m getting prior to delivery. Another huge benefit to using local companies is that you will begin to form a (hopefully good) relationship with them that will only help you when it comes to future projects.

Conclusion
My favorite part of this project was that it forced me to approach my photography as a whole story rather than individual pictures. It’s easy for me to select two or three of my favorite images from a trip and then sort of neglect the rest. But with a zine, pictures I wouldn’t normally highlight all of the sudden become a valuable piece of the whole, and I like that.
I’m currently in the process of creating a more in-depth zine that I’ve been working on it for the better part of a couple years now. But it was nice to take a break and do something a little less serious. I’ll definitely be making more of these in the future!
Check out the full zine below. Thanks for reading.